description: Change how your invoices look by clicking on one: its layout, colour, page margin and bands, your own words, payment details, footers, the order of its sections and each part's spacing, box and alignment.
Designing your invoices
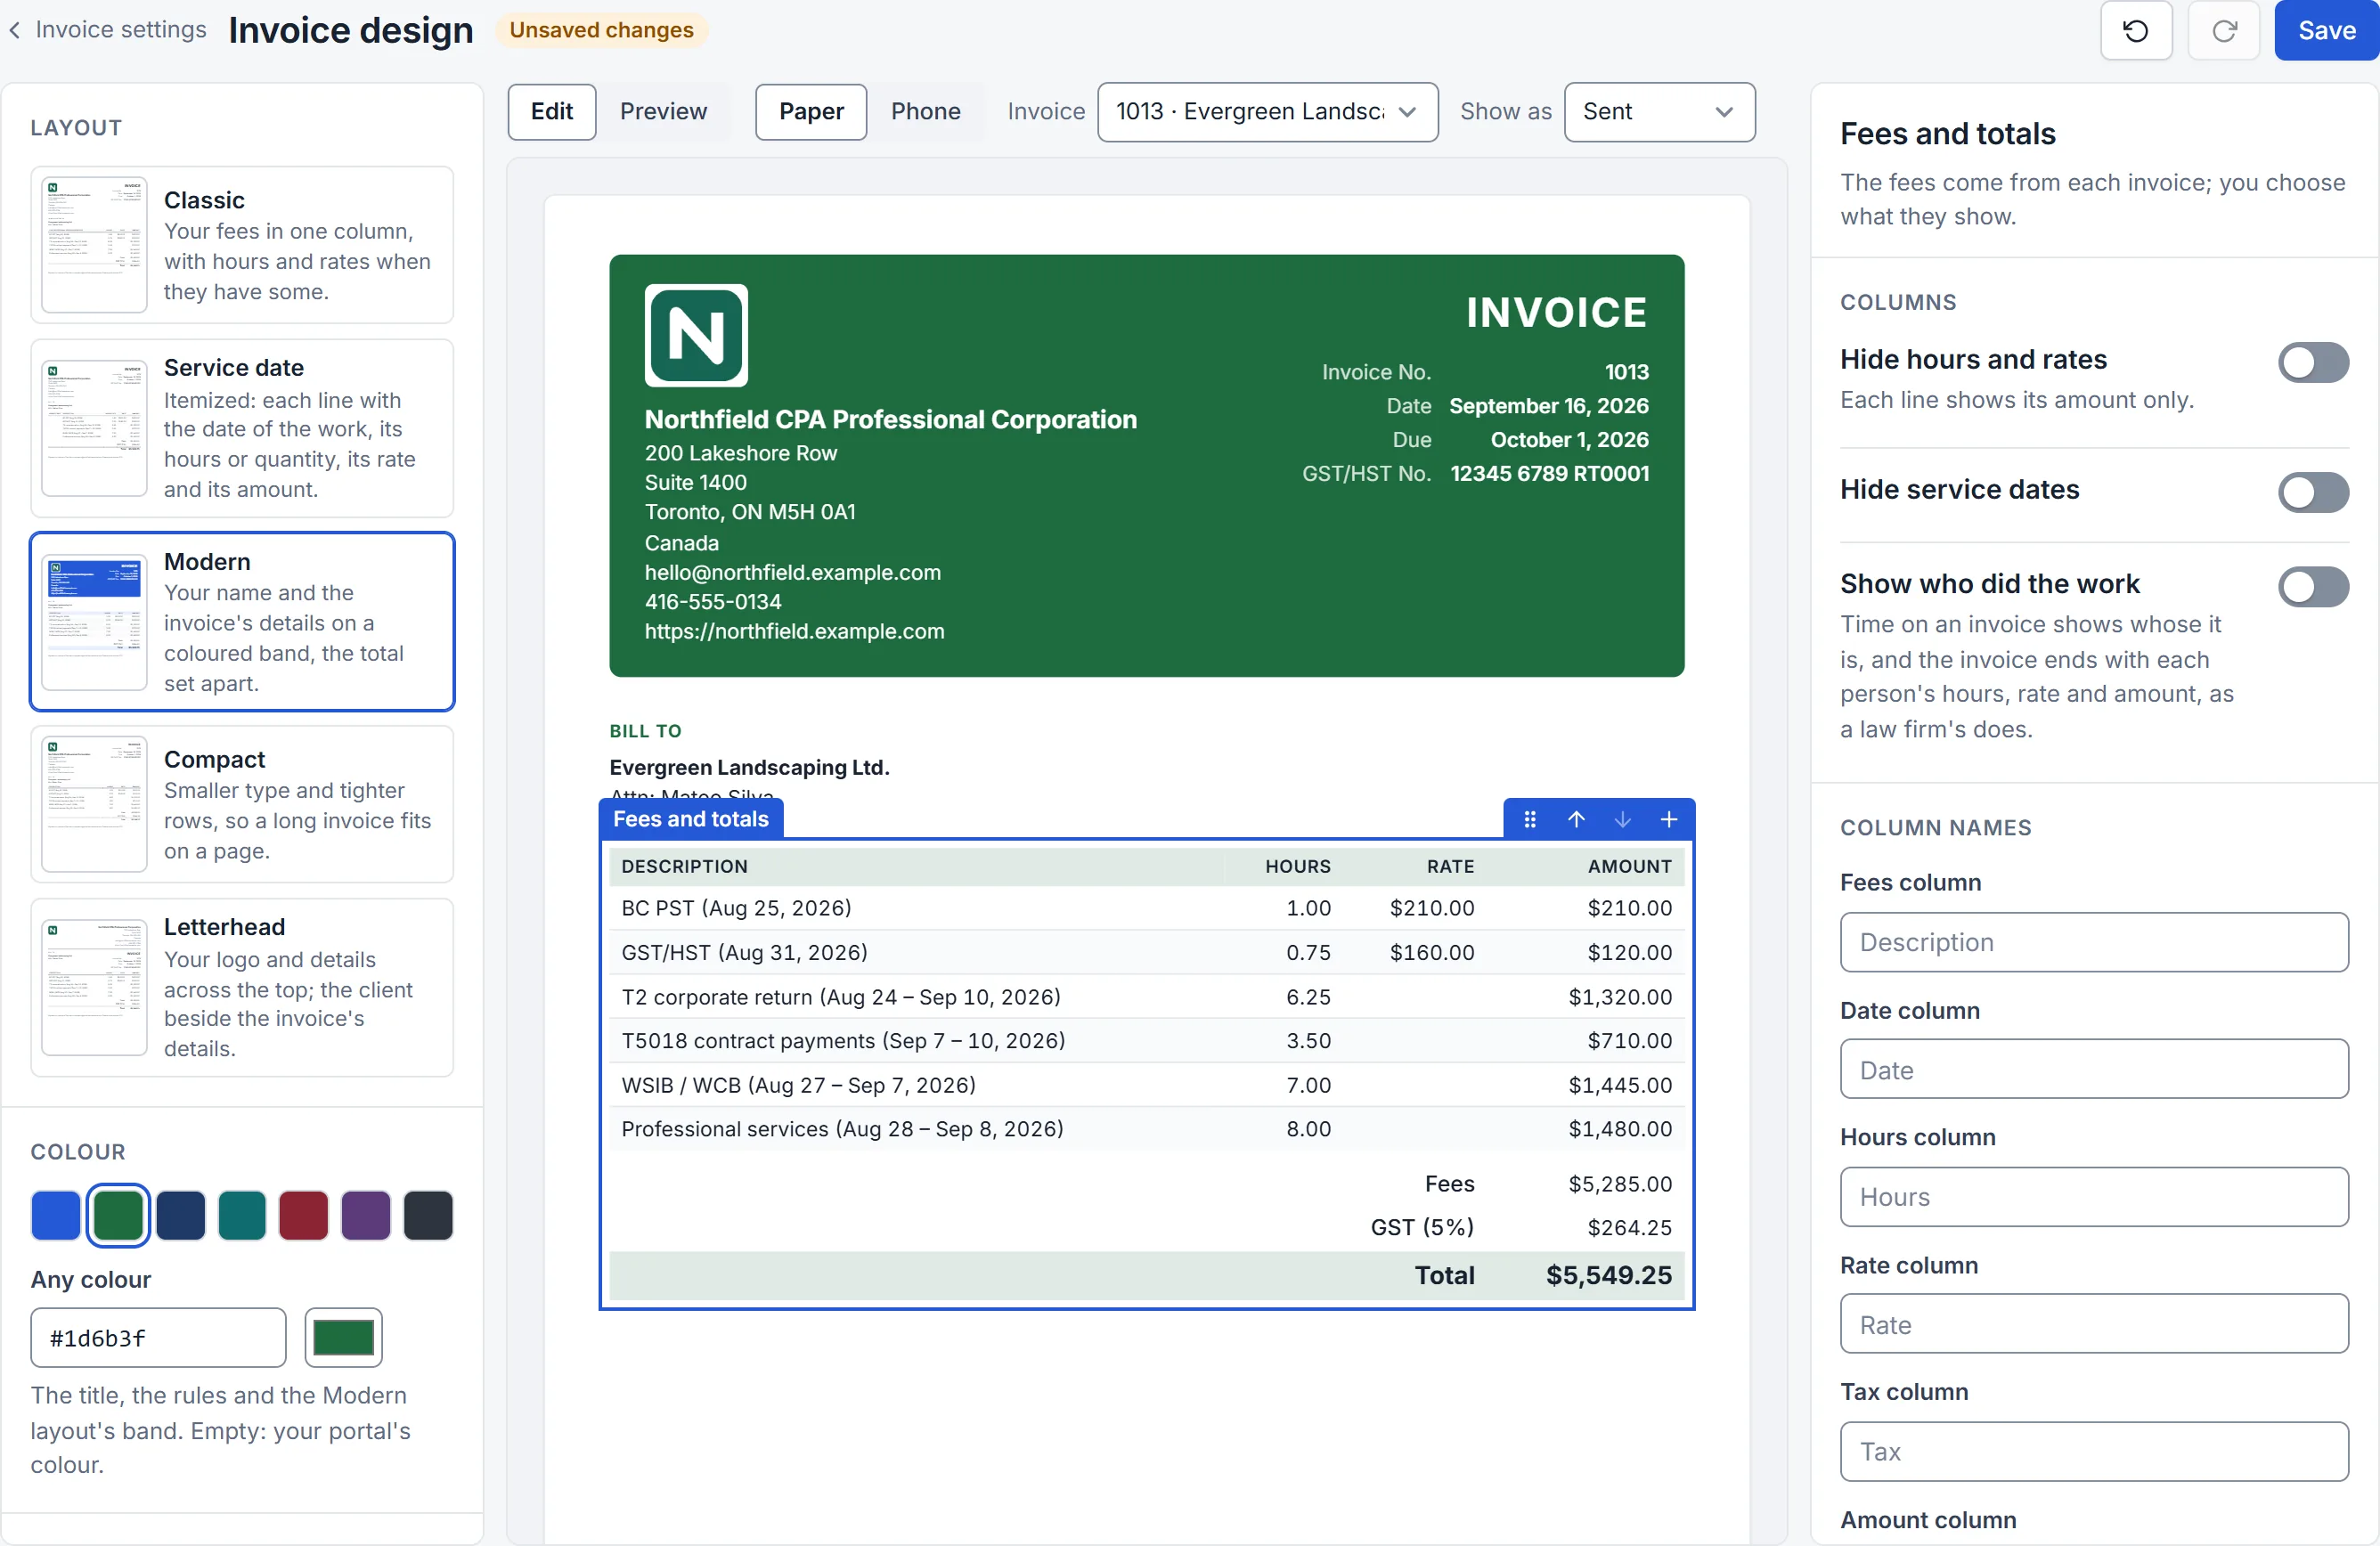
Owners and admins design the firm's invoices in Settings › Invoice design. One of your own invoices is in the middle, drawn the way your clients will get it. Click a part of it to change that part, or click a word to type your own. Nothing changes for your clients until you click Save.
You can also get there from an invoice's page, under More actions (⋯) › Design invoices, which shows that invoice, or from Settings › Invoice settings, under How they look.
What's on the page
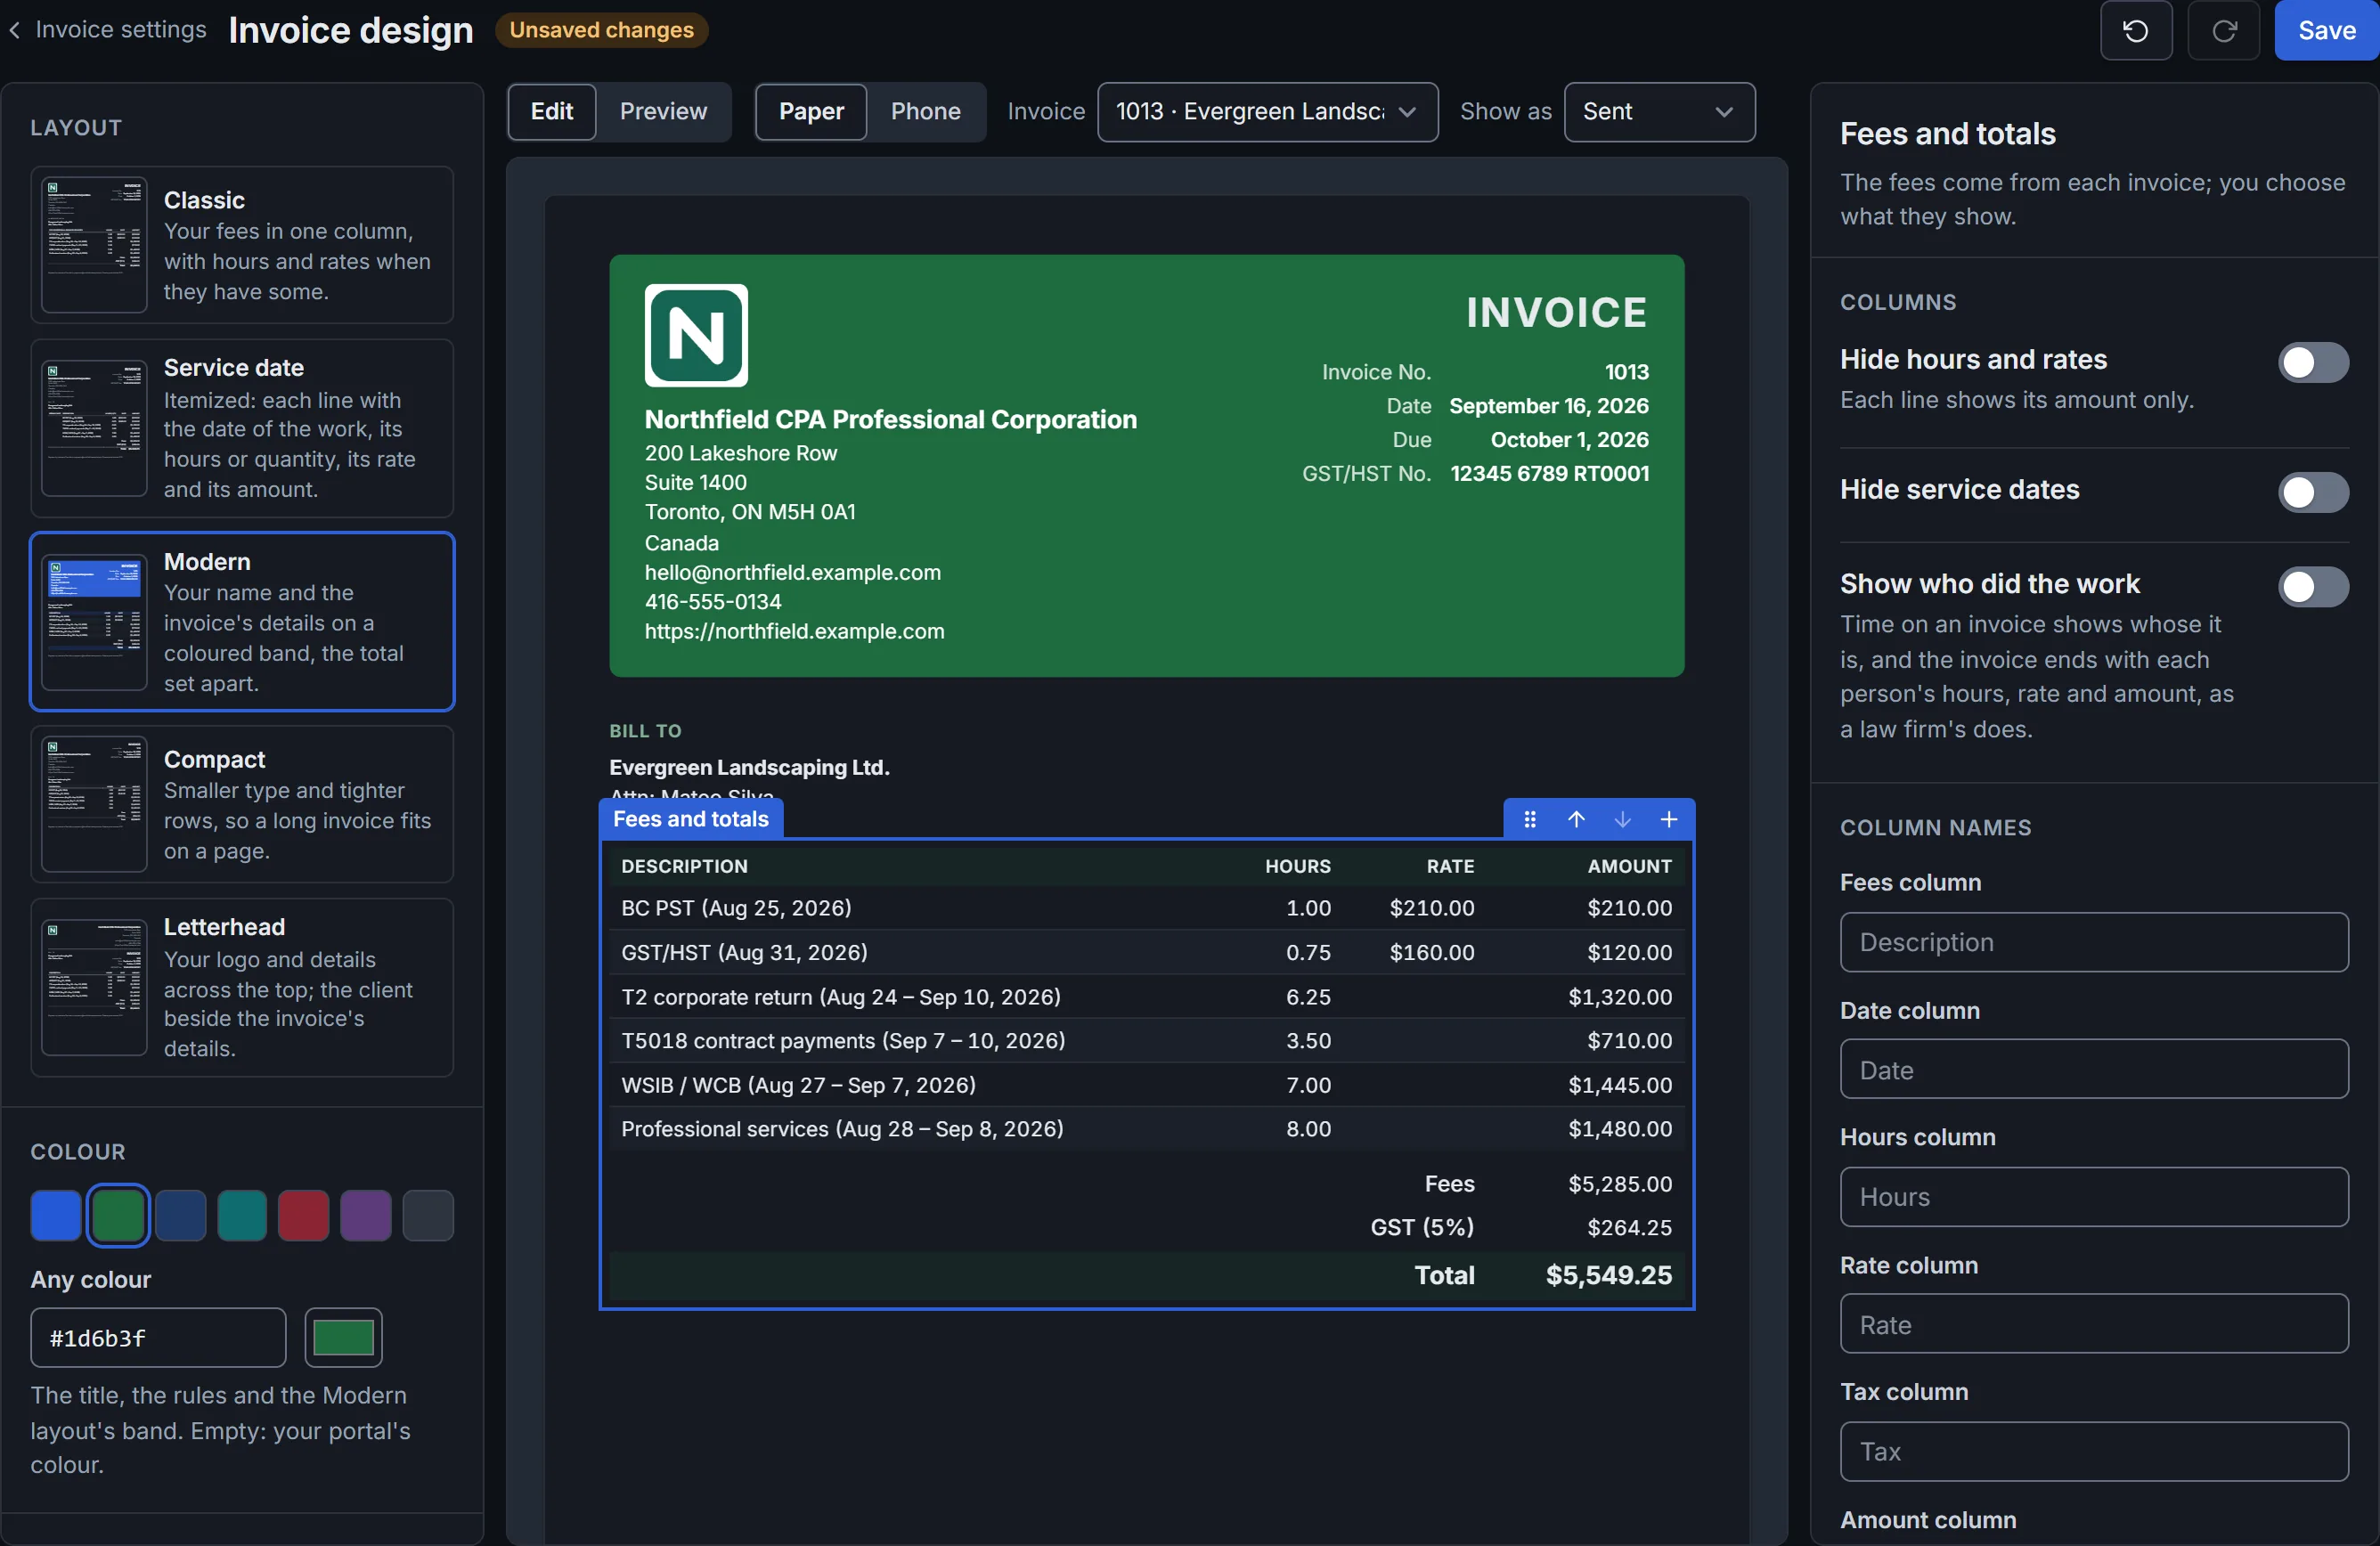
- On the left: Layout, Colour, Text size, Page, Sections and Footers.
- In the middle: your newest invoice. Invoice shows another one, and Show as shows it as Sent, Partly paid (half of it paid, so the Paid and Balance due lines show) or Draft. Showing an invoice doesn't change it. A firm with no invoice yet sees a made-up one.
- On the right: the part you clicked, and its settings.
Above the invoice, Preview hides the panels and the outlines so you see the invoice alone, and Phone shows it as it looks on a phone.
Change a part
Click it. A blue outline shows the part you picked, and its settings open on the right:
- Header: your logo, your details and the invoice's details together. Click Header under Sections to pick it.
- Logo: on the left, on the right or centred, normal or large. It's your default logo, from Settings › Logos.
- Your details: the name on invoices, and whether your address and your email, phone and website show.
- Invoice details: the title, the words beside the number and the dates, the reference's name (such as "Your ref."), and your GST/HST and QST numbers.
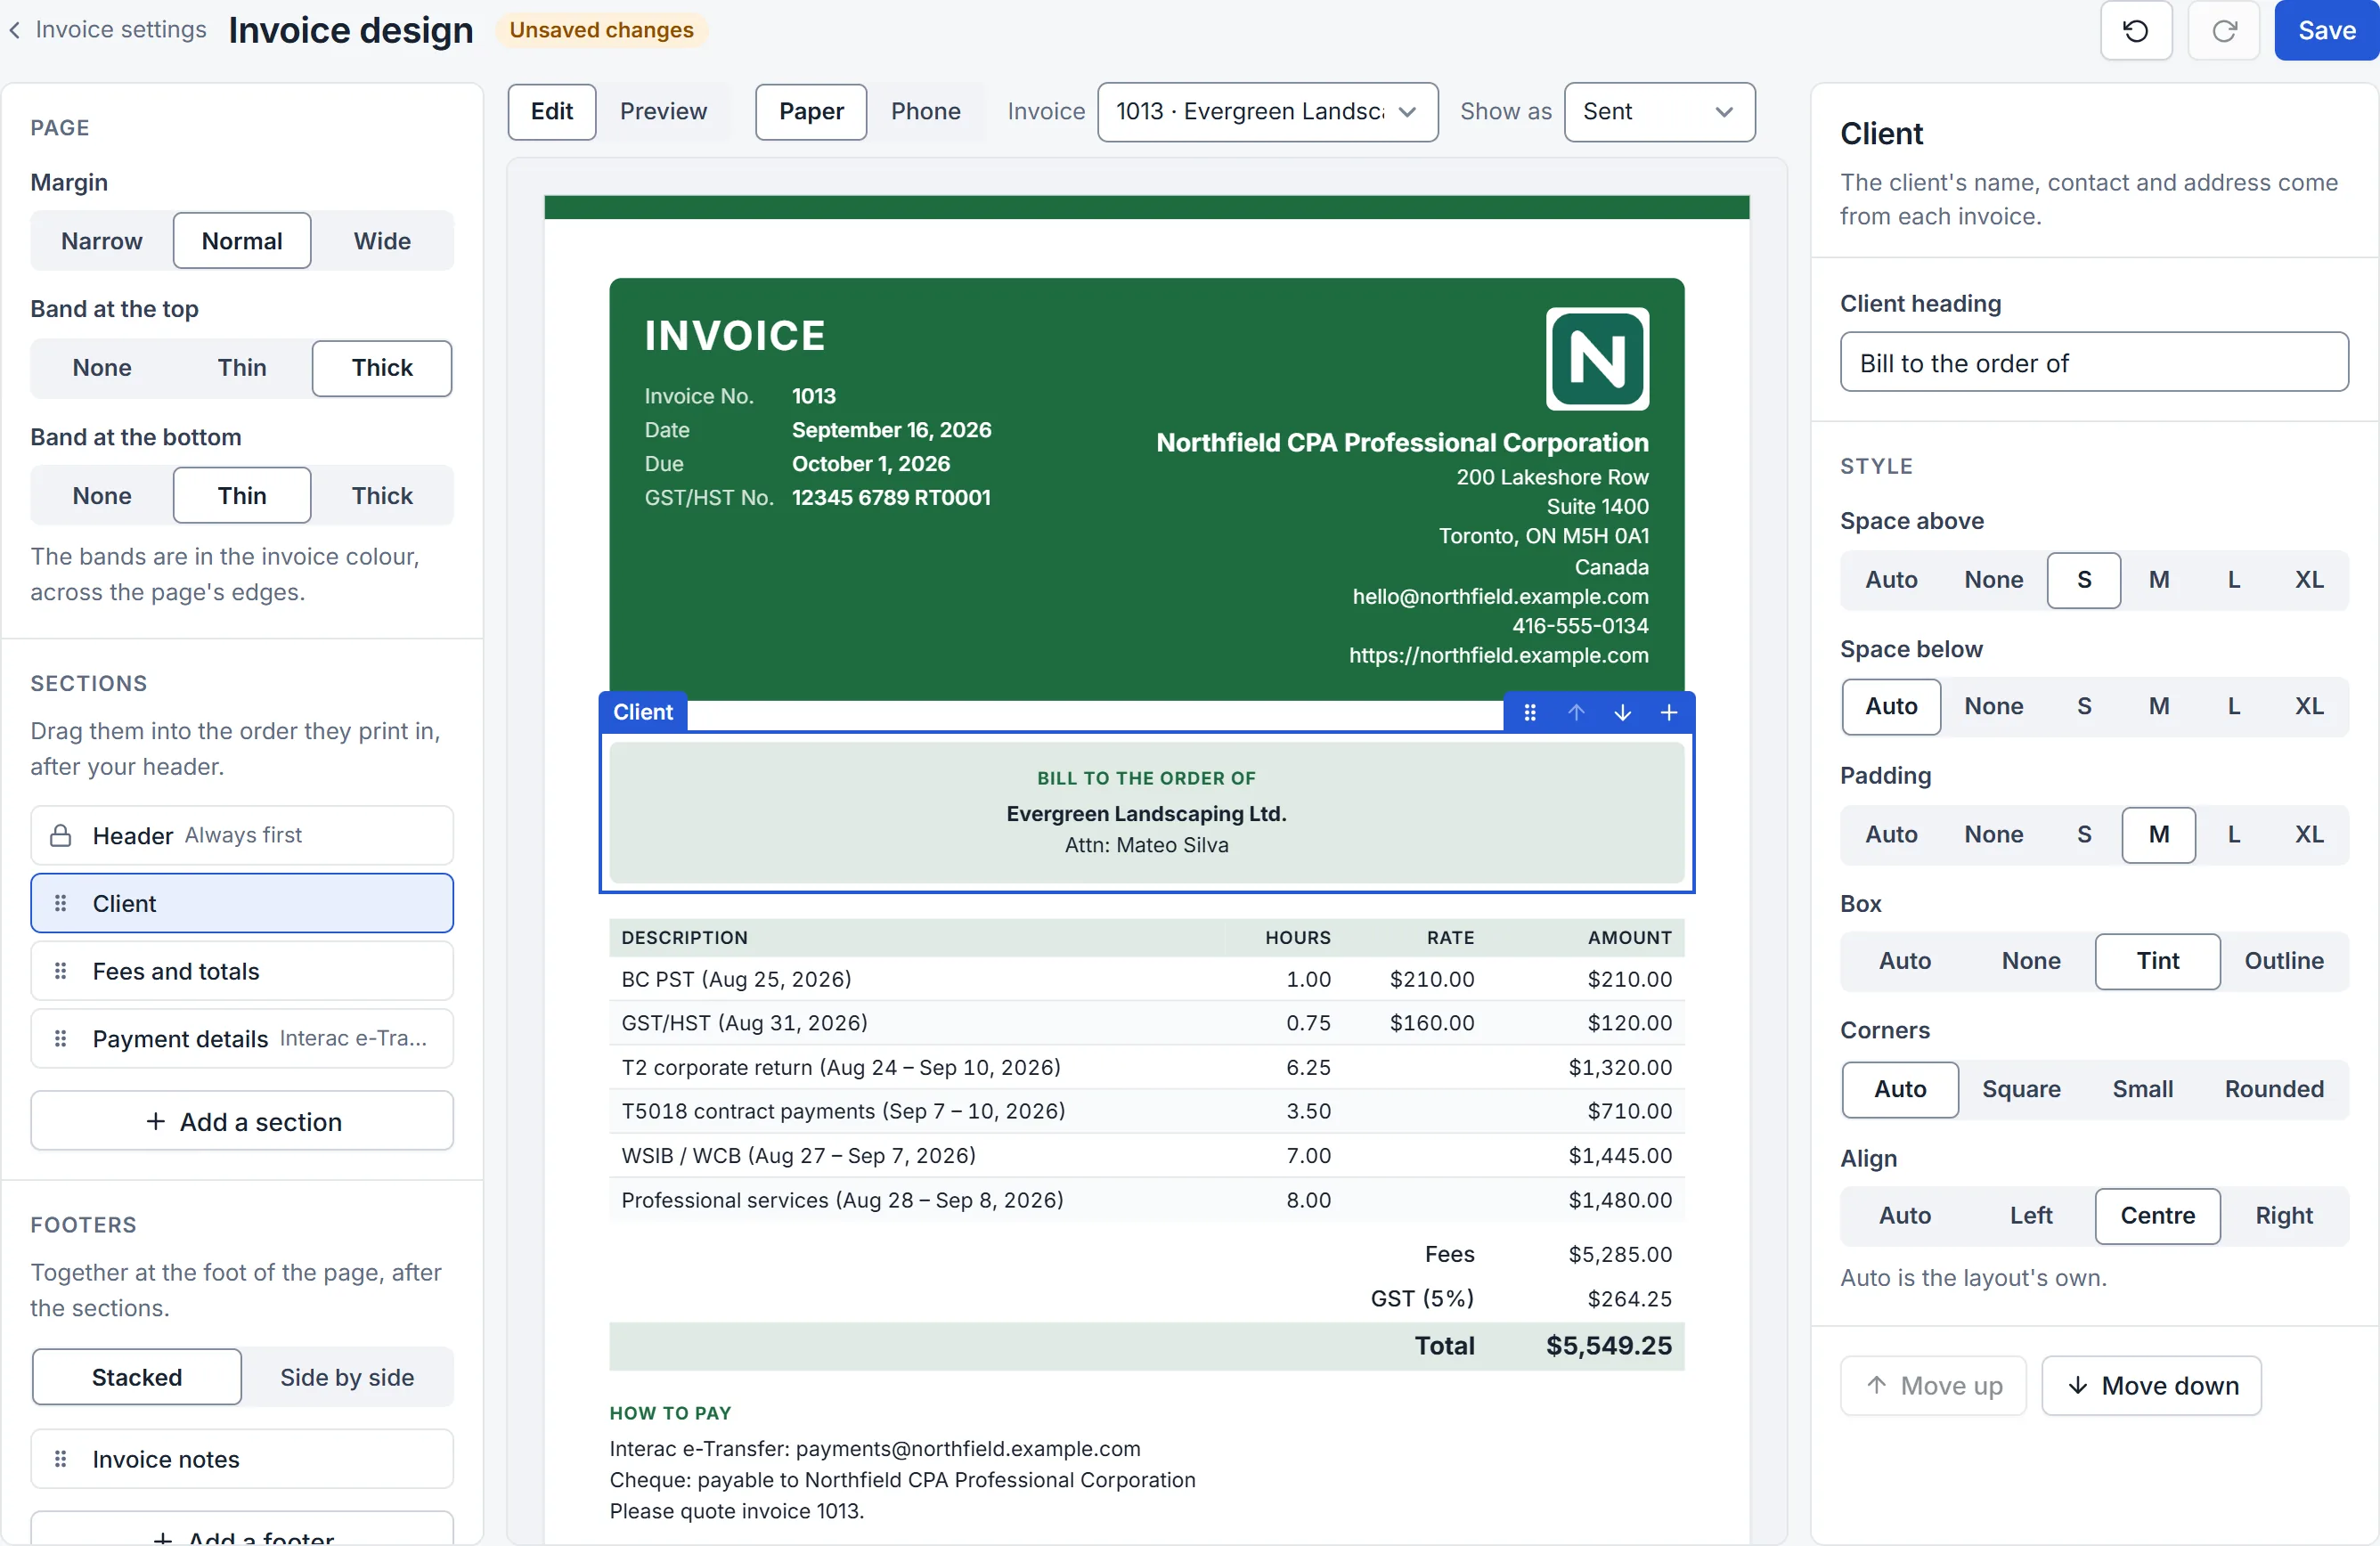
- Client: its heading, such as "Bill to".
- Fees and totals: whether hours and rates, service dates and who did the work show; the columns' names; and the words of the totals.
- Invoice notes and your own footers: see Footers.
The invoice is drawn again as you change things, so you see each change as your clients will.
Style a part
Under its settings, a part has a Style: steps to choose from, so every invoice stays tidy.
- Space above and Space below: None, S, M, L or XL.
- Padding: the room inside its box, from None to XL.
- Box: None, Tint (a light wash of the invoice colour) or Outline.
- Corners: Square, Small or Rounded, for a box.
- Align: Left, Centre or Right.
Auto leaves it to the layout. A part only shows the steps that suit it: the fees and totals aren't aligned, a divider only takes its space, and a footer takes no space above or below. In the Modern layout the header's box is its coloured band; in the Letterhead layout, style your details and the invoice's details one by one.
The page
Under Page, on the left:
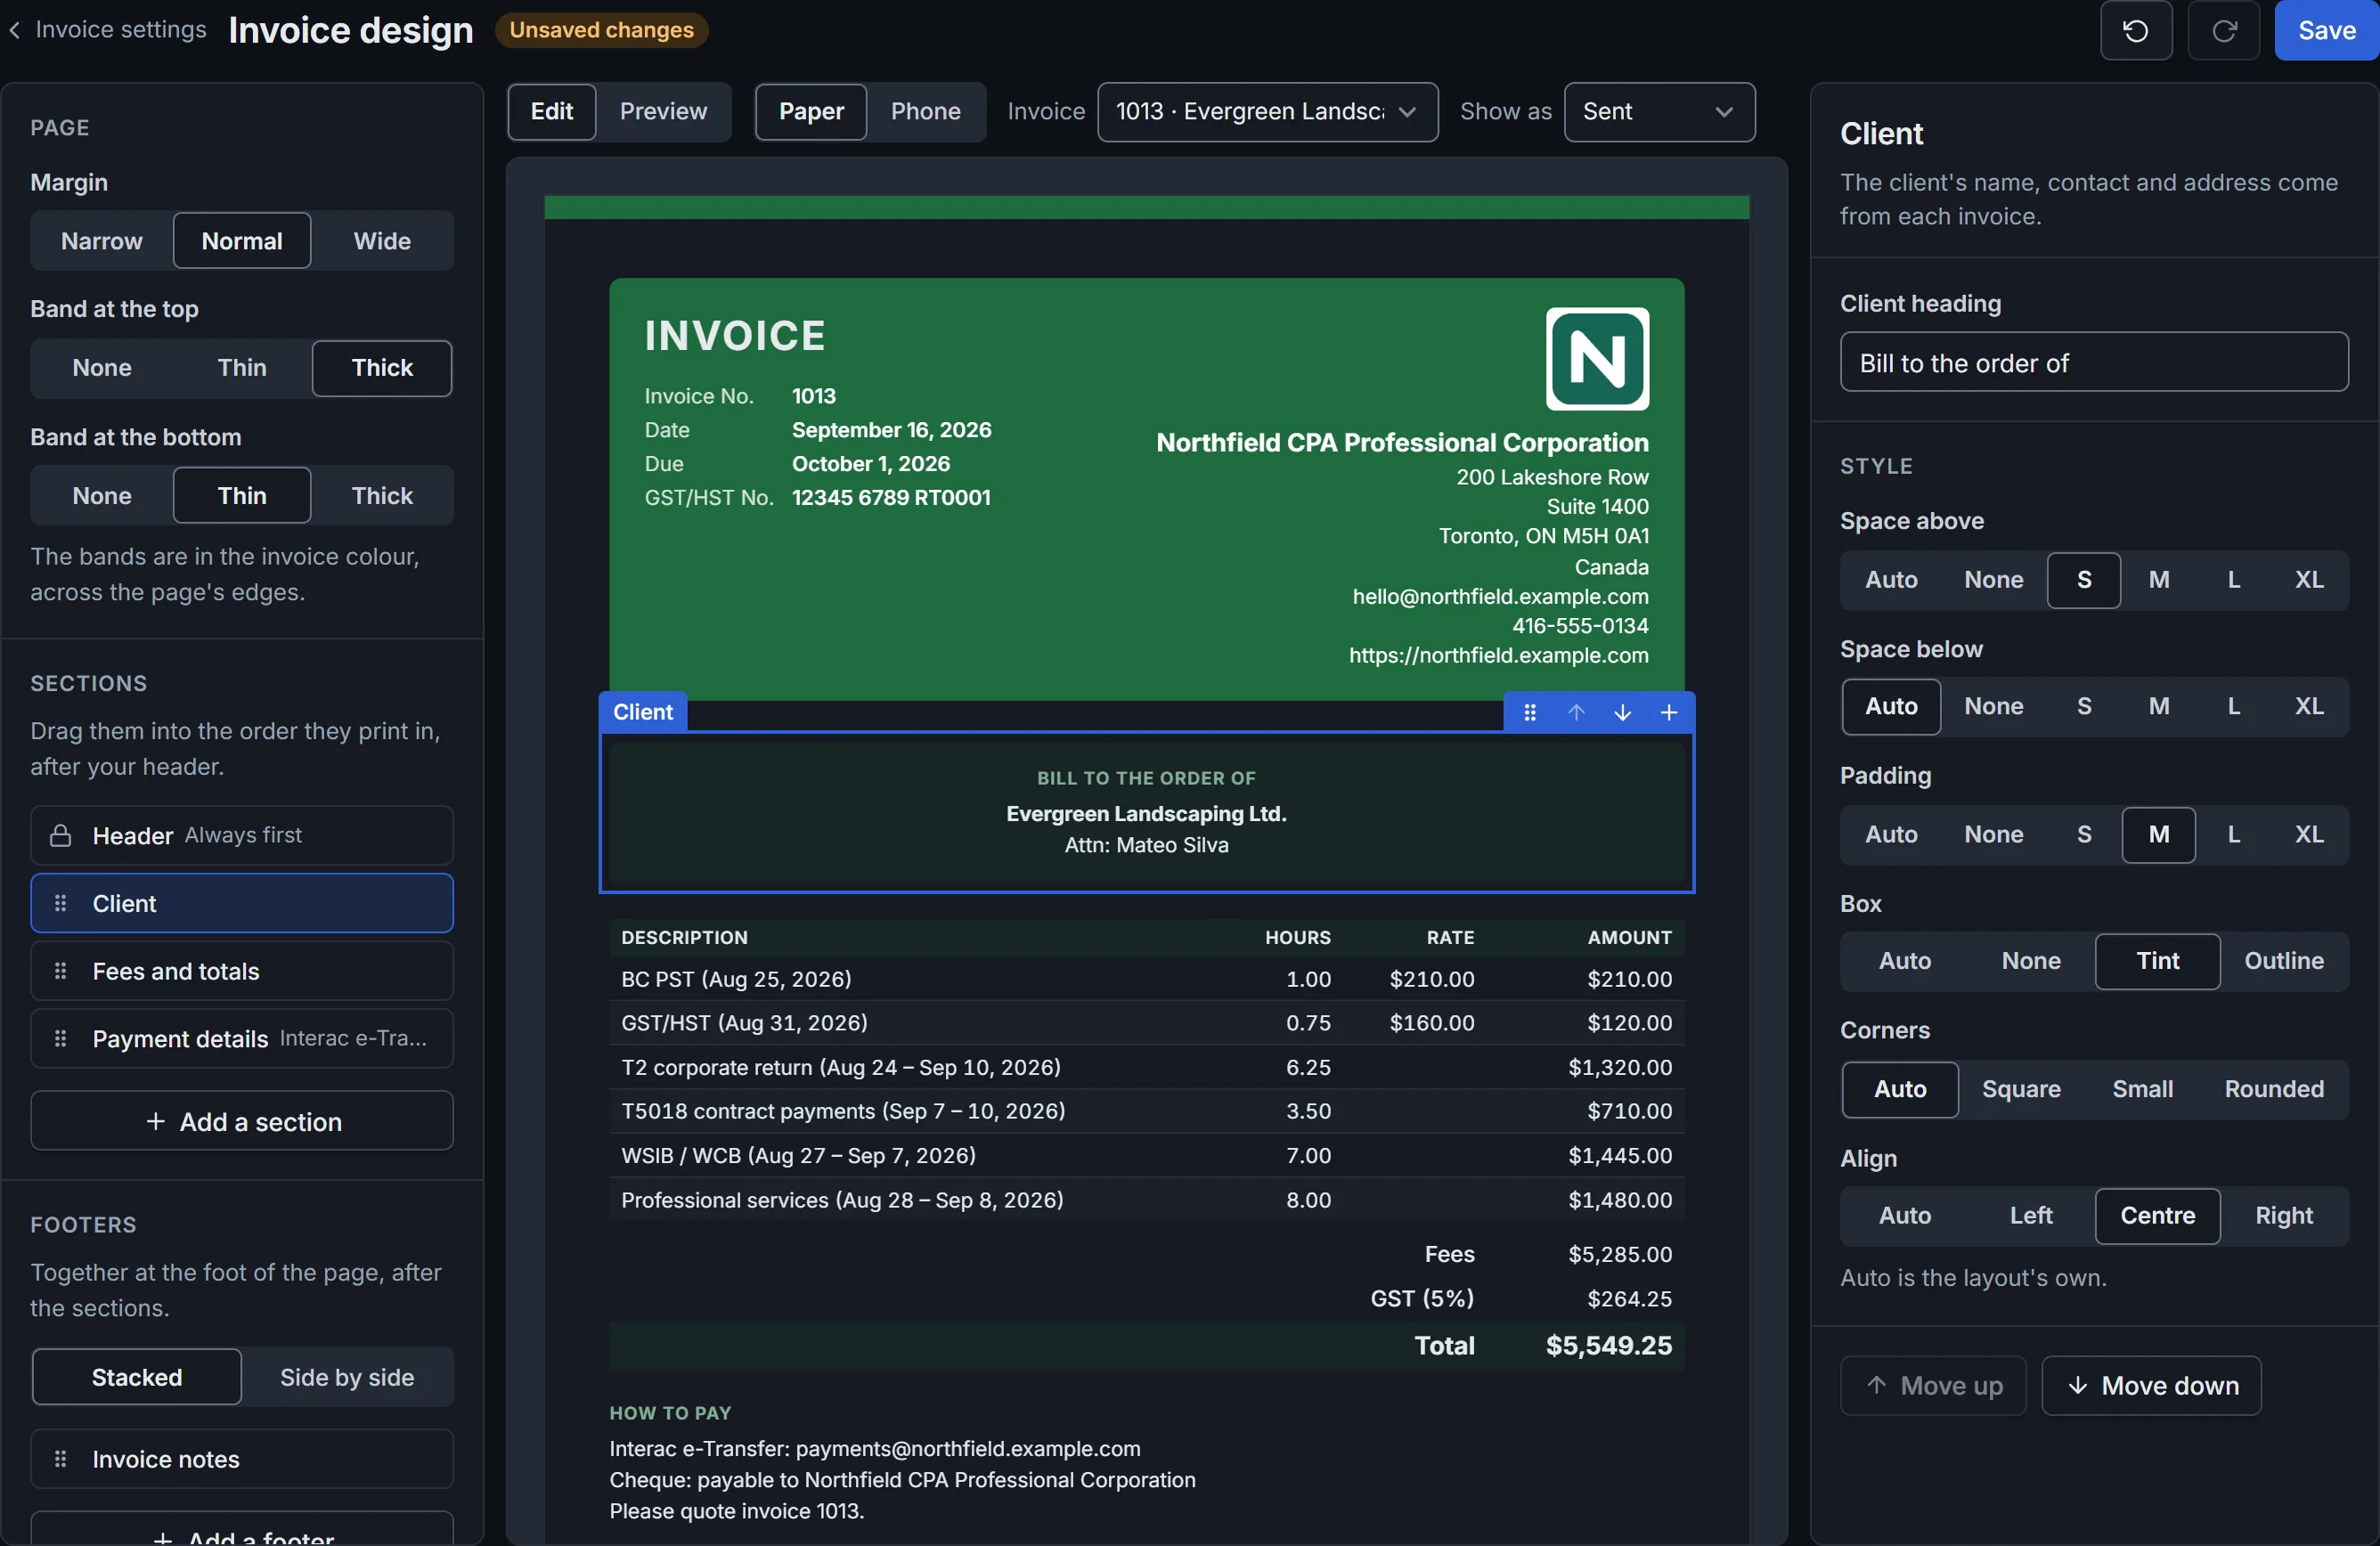
- Margin: Narrow, Normal or Wide, on the screen and on paper.
- Band at the top and Band at the bottom: a strip of the invoice colour across the page's edge, Thin or Thick. Have one, both or neither.
Type your own words
Click a word on the invoice, such as the title or a column's name, and type over it. Enter keeps it and Esc puts it back. The same words are in the part's settings on the right.
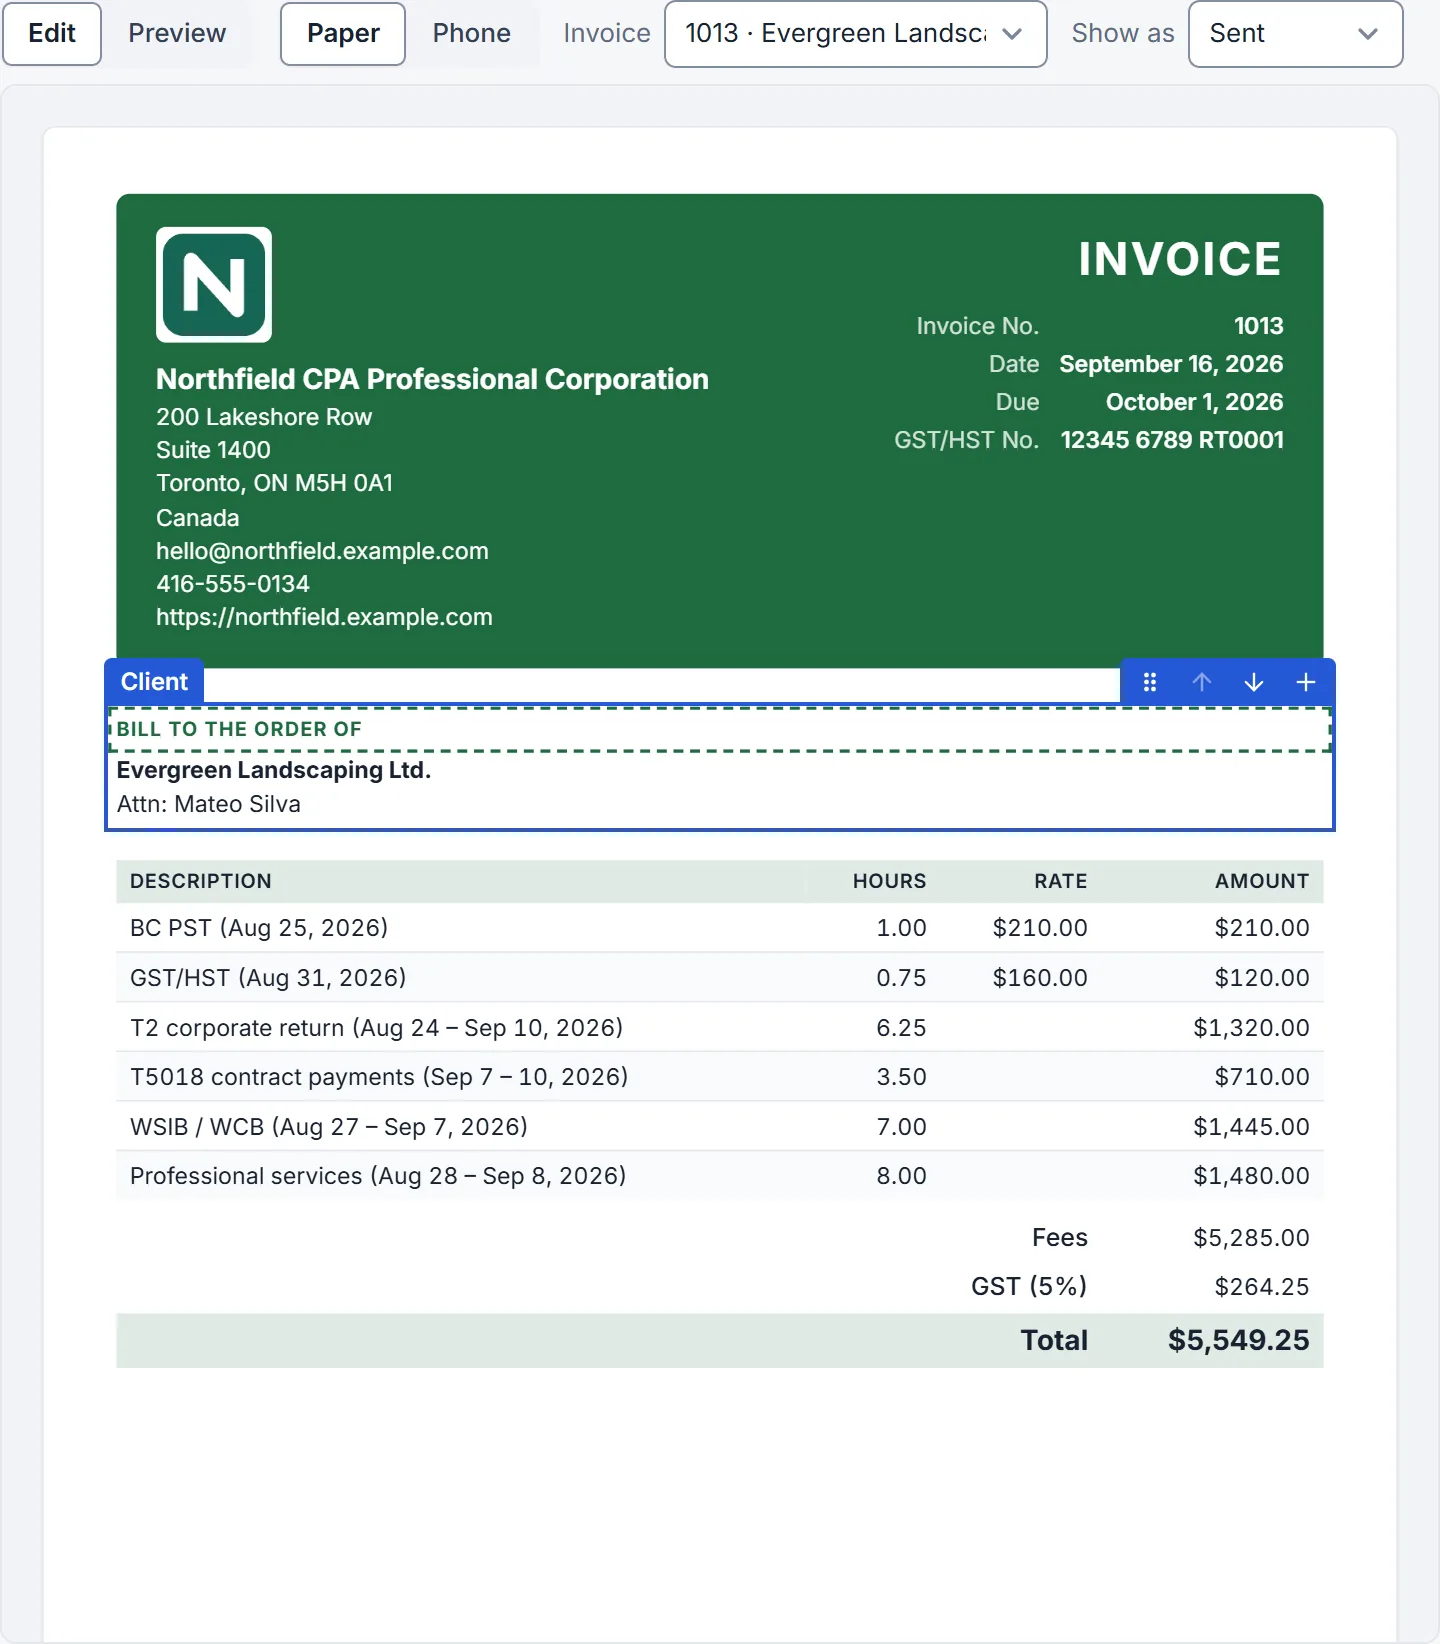
Your words print as you type them, on every invoice, for clients in English and in French. Empty a word to go back to the layout's own.
Add a section
The sections are what follows your header: the client, the fees and totals, and any you add.
- Text: words of your own, such as a thank-you or your terms.
- Payment details: how to pay you, under a heading (How to pay unless you give it your own).
- Divider: a line across the page.
Click Add a section under Sections, or the + above the part you picked to add one under it. Then type its
words on the invoice, or on the right. {number}, {client}, {total} and {due} are filled in for each invoice.
An invoice can have up to 10 sections of your own.
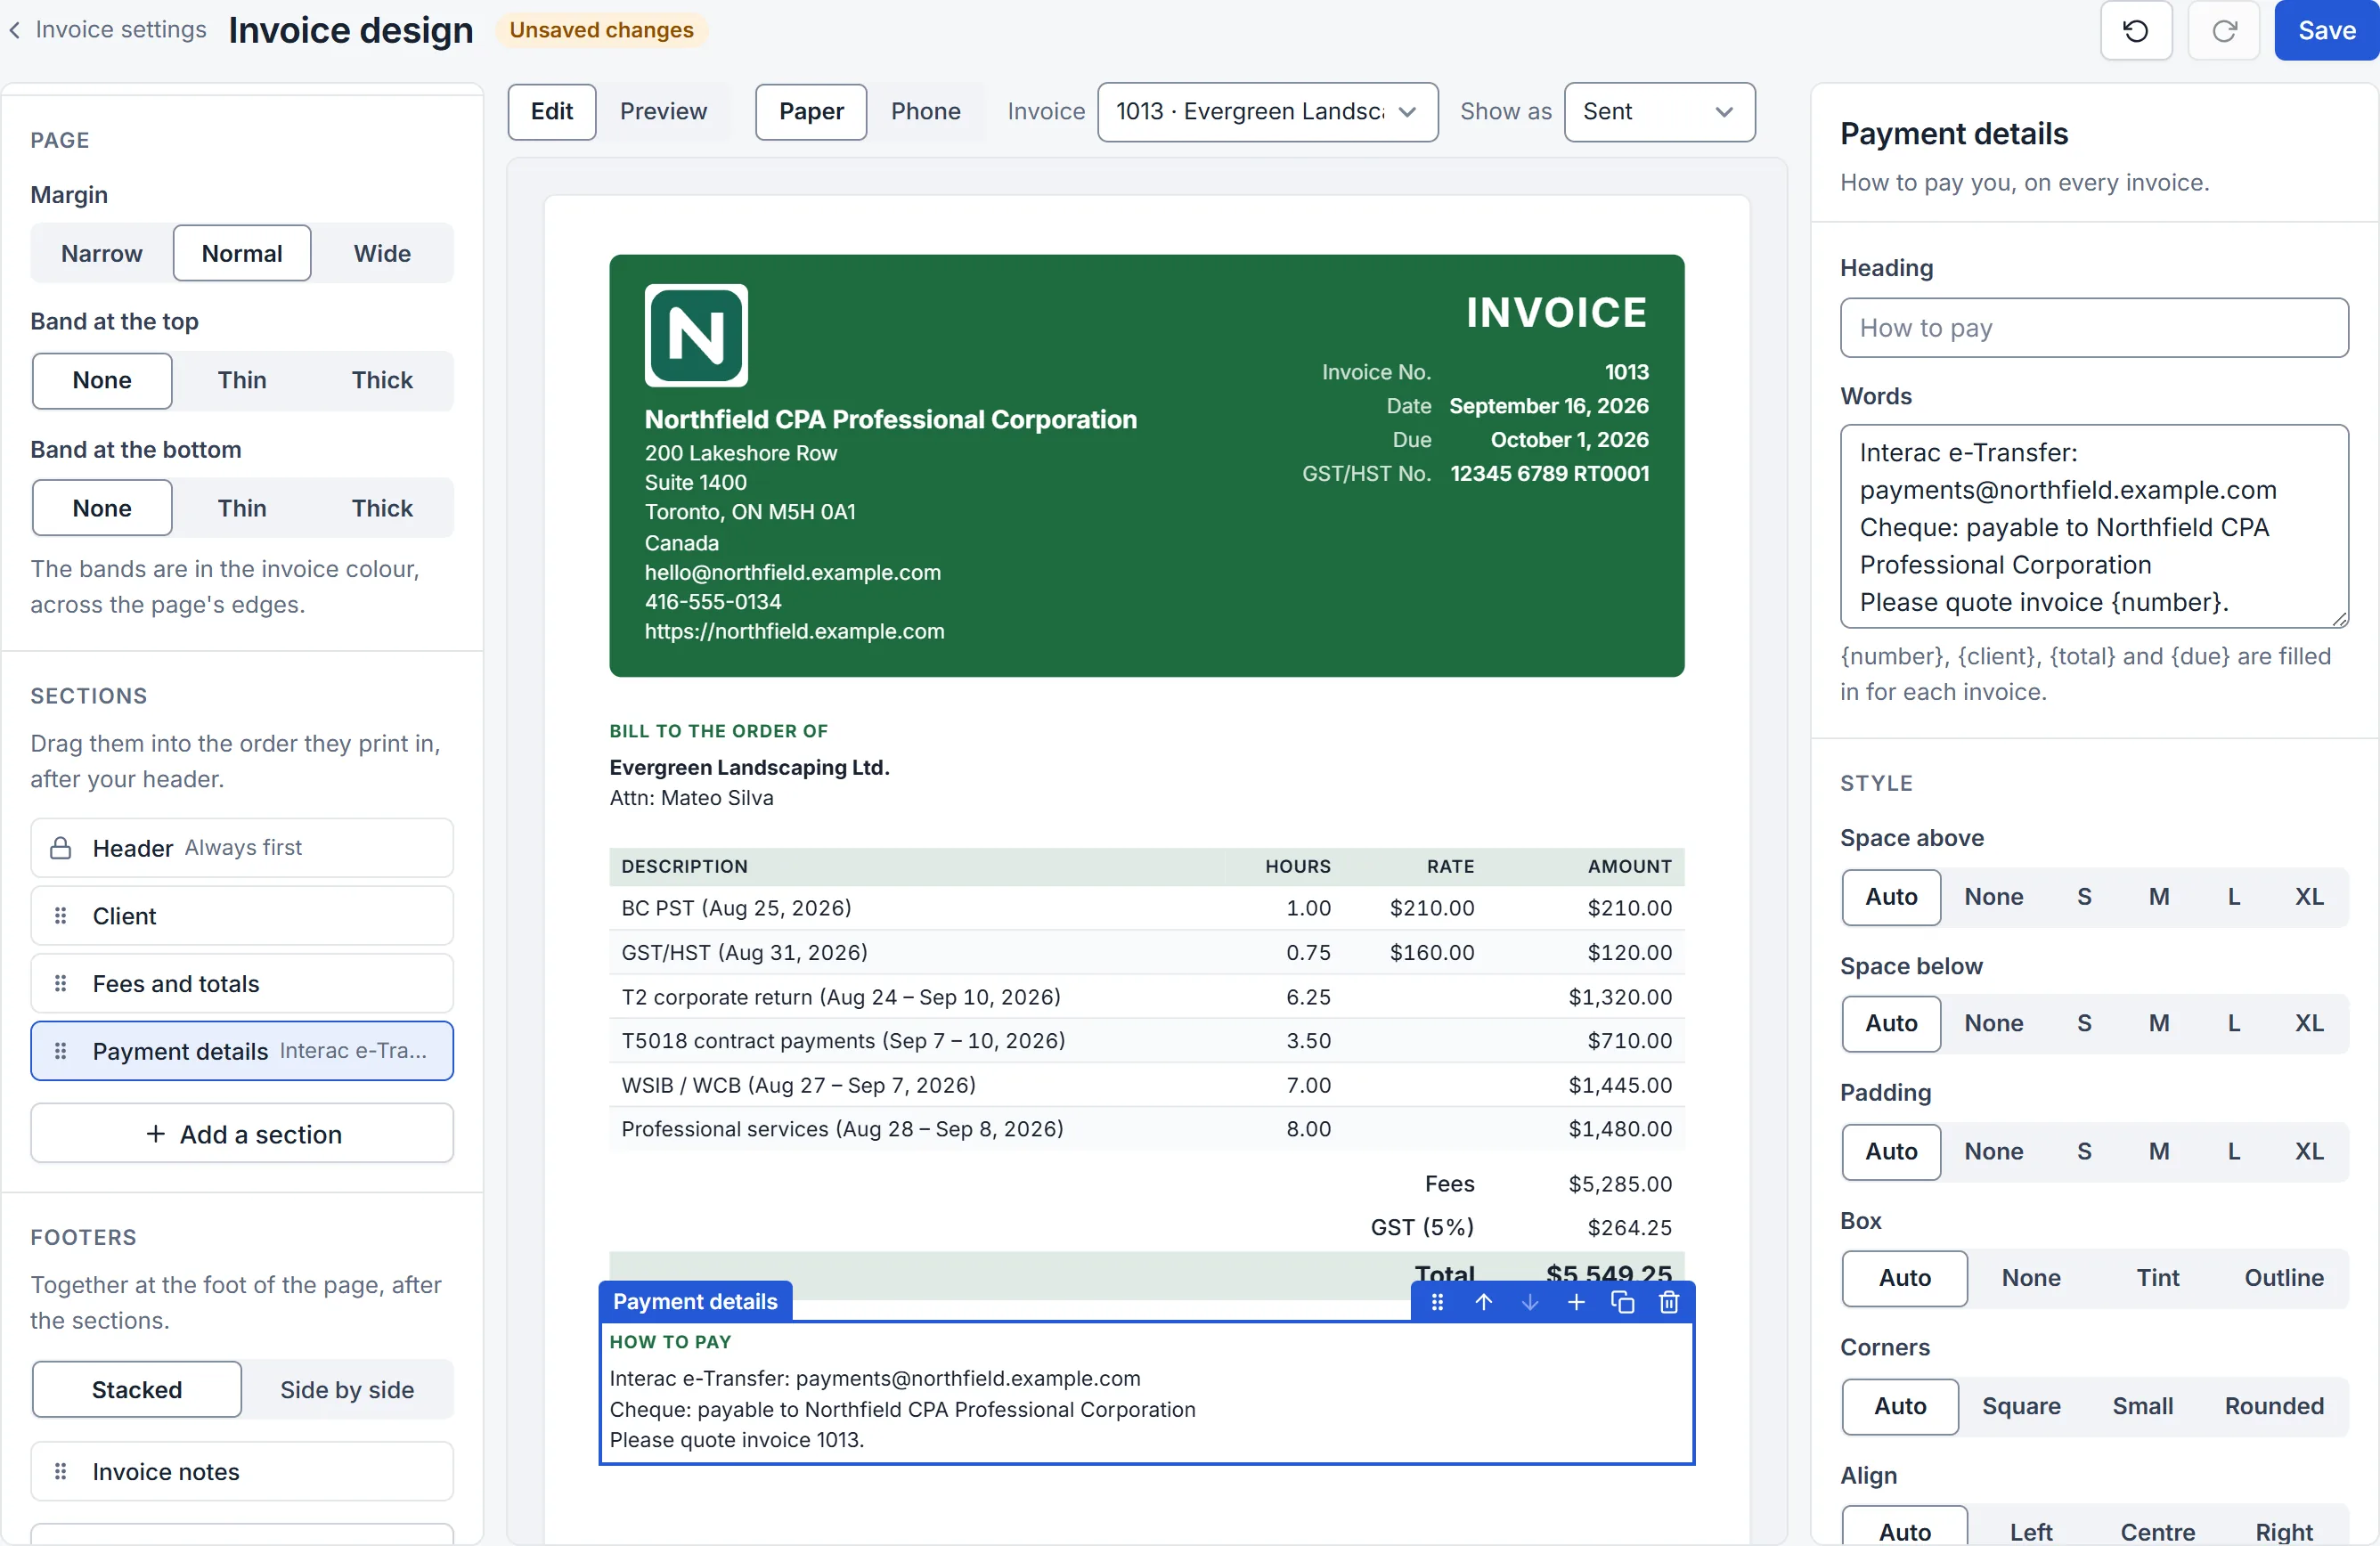
To take one off, pick it and click Remove, or press Delete. Duplicate makes a copy under it.
Move a section
Drag it by its handle (⠿) in Sections, or by the handle above the part you picked on the invoice. Or use Move up and Move down on the right, the arrows above the part, or the arrow keys on its handle in Sections. Your header always comes first.
In the Letterhead layout the client sits beside the invoice's details while it comes right after the header. Moved further down, it takes the whole width.
Footers
The footers sit together at the foot of the page, after every section. On paper they're at the foot of the last page.
- Invoice notes: what you had as the footer, such as your terms.
{number}becomes the invoice number. - Your own: click Add a footer under Footers, then type its words on the invoice.
{number},{client},{total}and{due}are filled in. An invoice can have up to 4 footers, the notes included.
Under Footers, choose Stacked (one under the other) or Side by side, and drag them into their order. Click one to align it on its own, or give it a box. A footer with no words doesn't print.
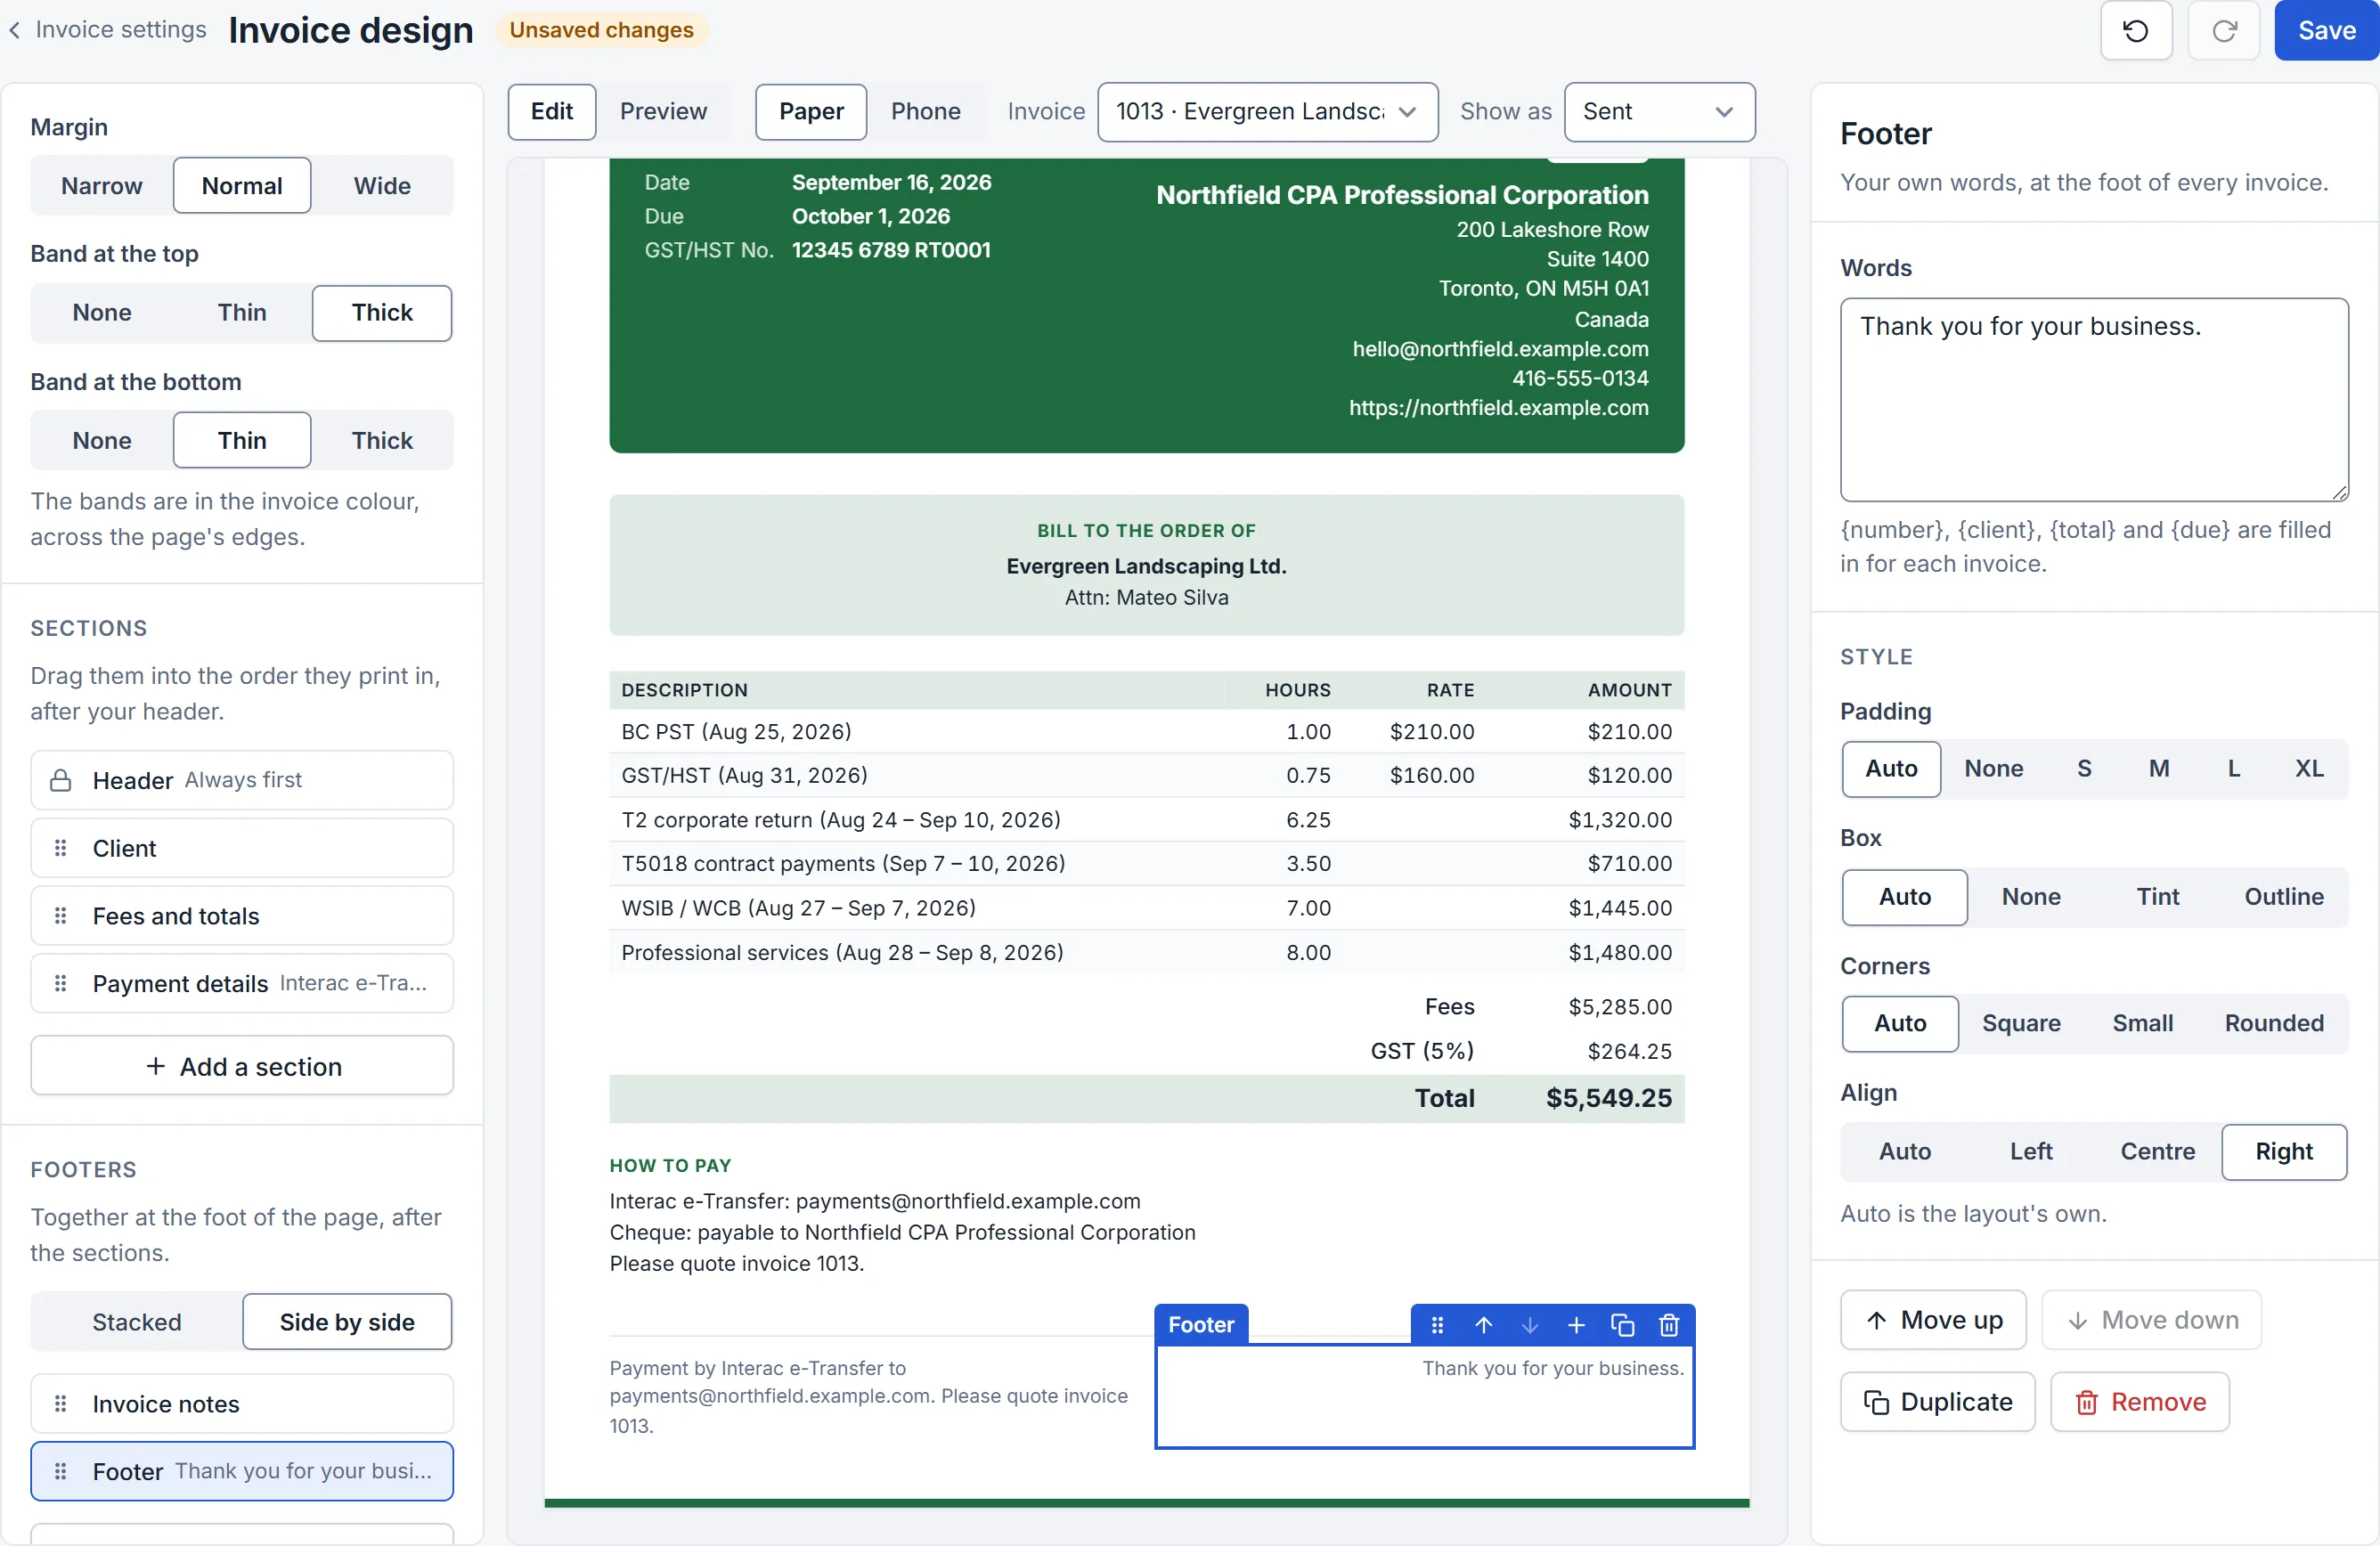
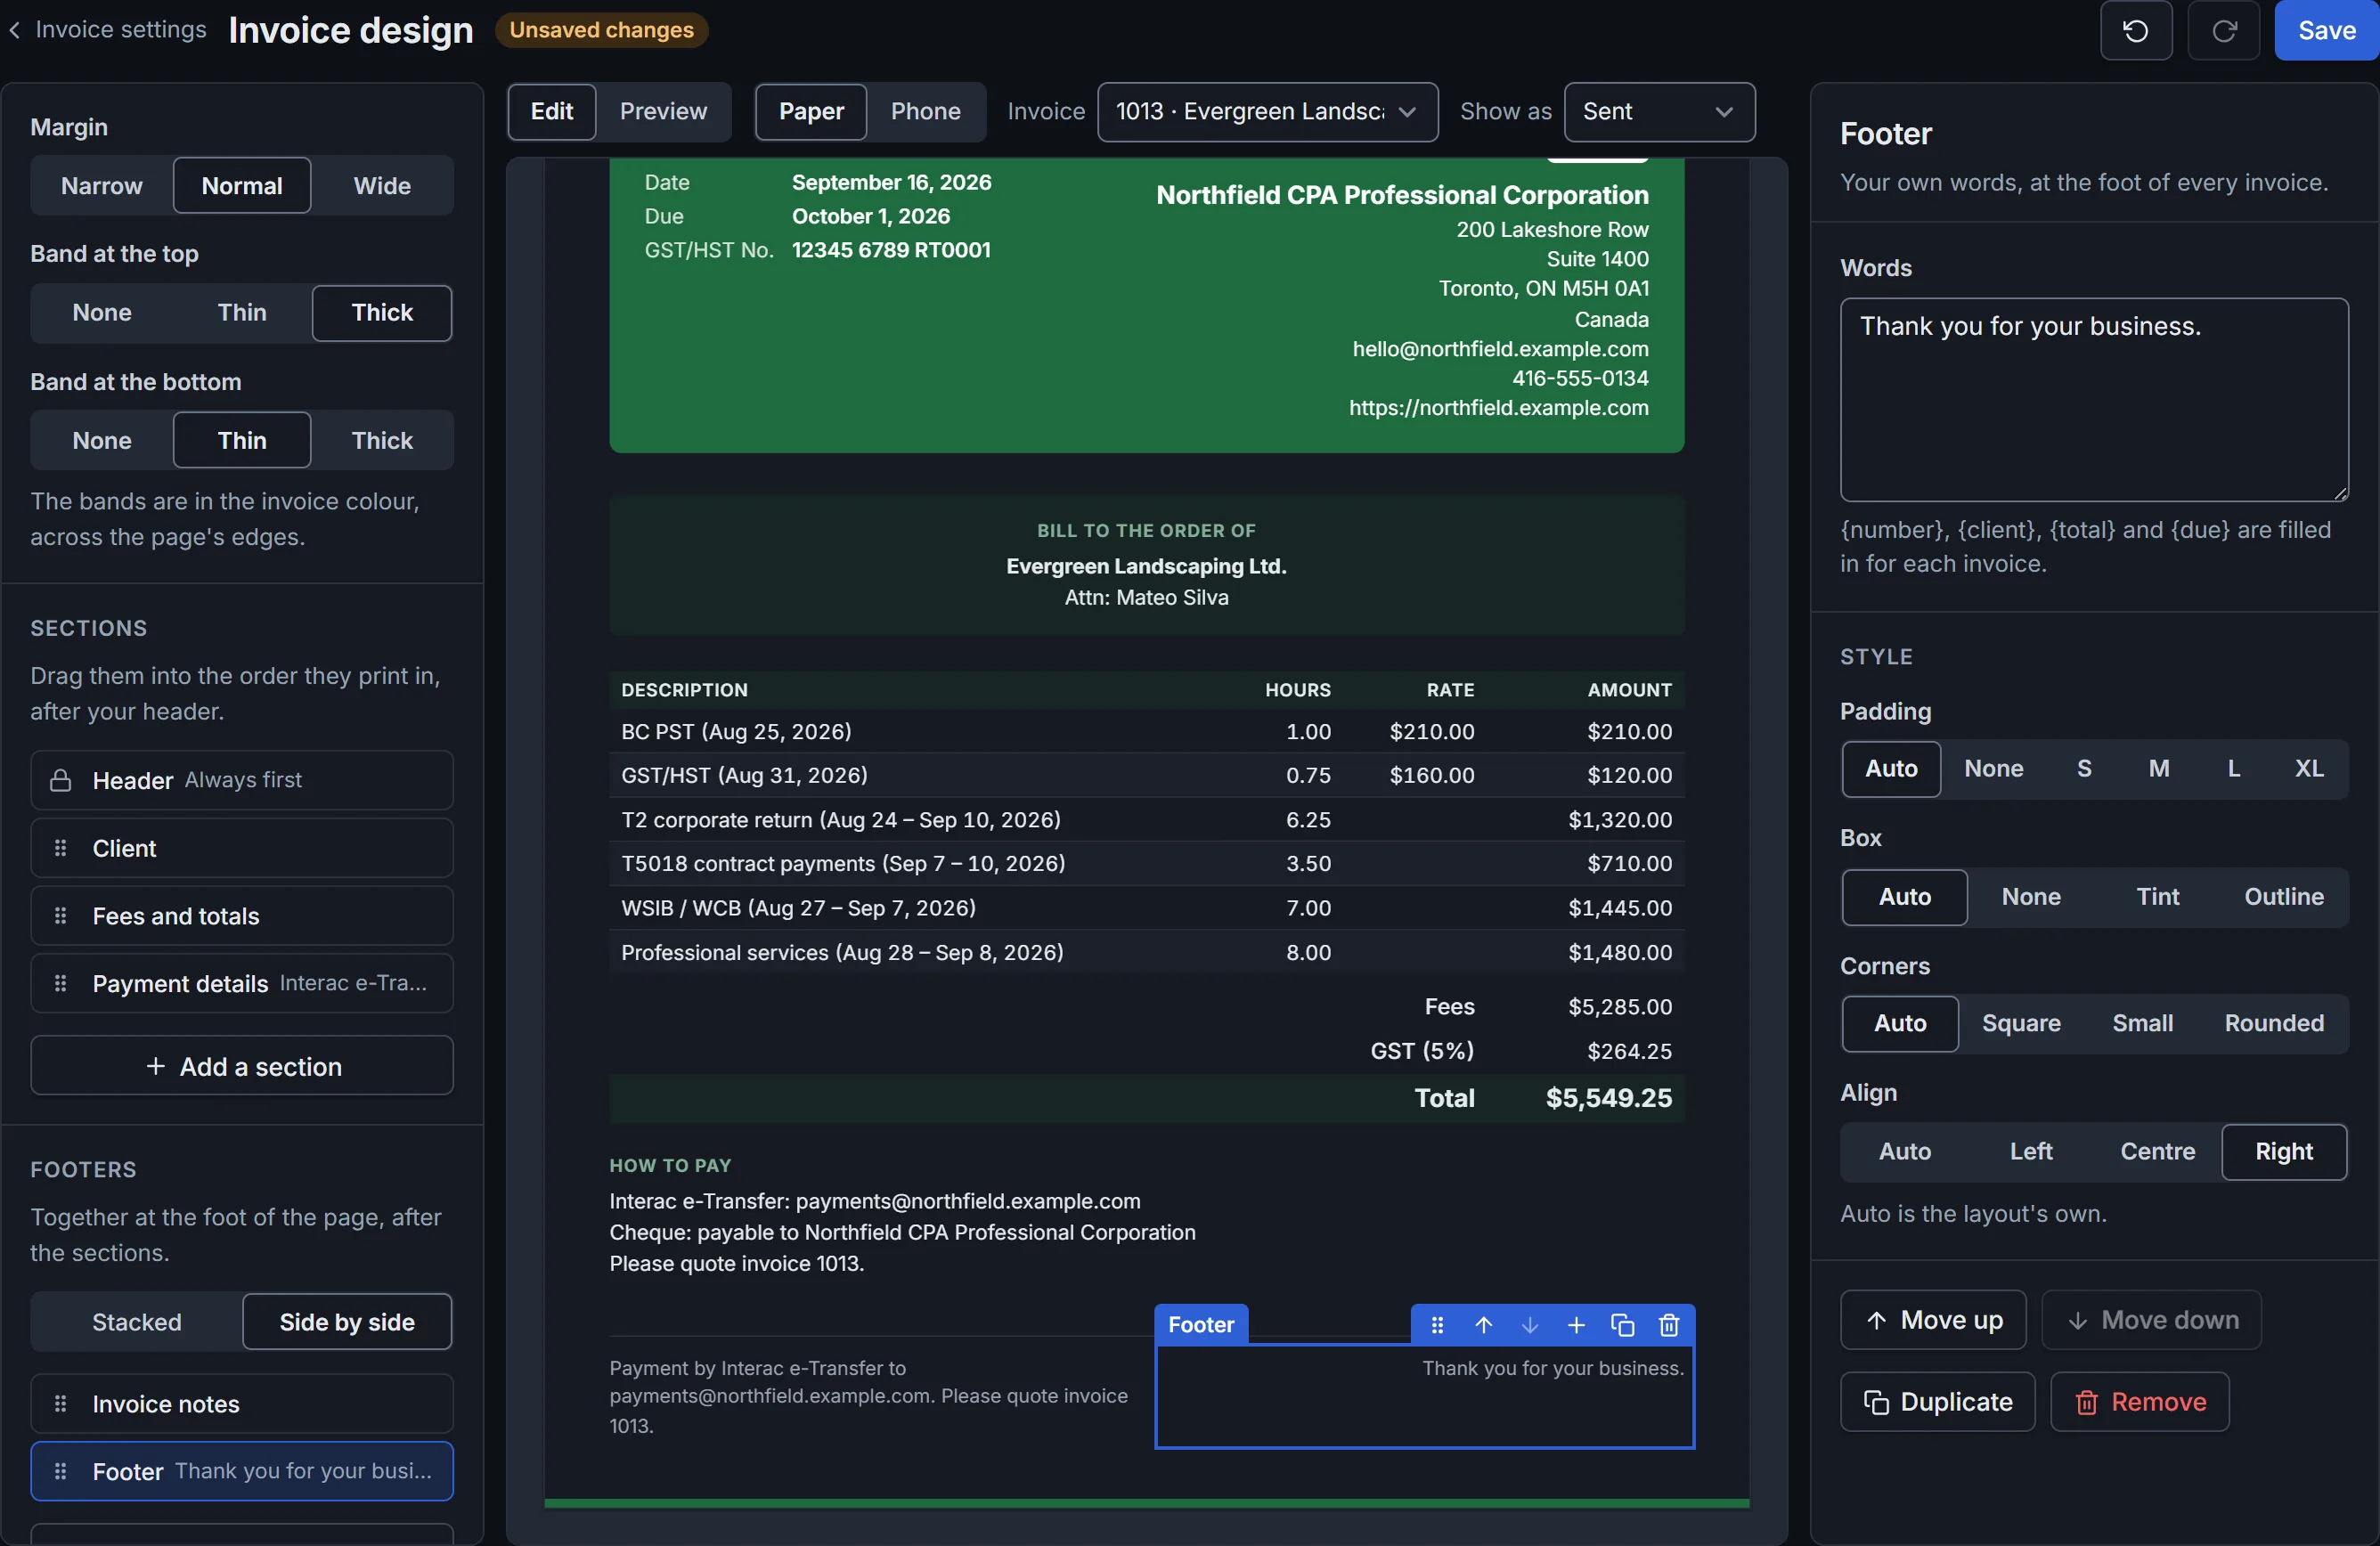
On a phone, footers side by side are stacked.
Save, or undo
Undo and Redo (Ctrl+Z and Ctrl+Shift+Z) step back and forth through your changes. Unsaved changes shows until you save, and leaving the page asks first.
Save (Ctrl+S) keeps your design for every invoice, old ones too. Their amounts stay as they are.
Settings › Invoice settings then says how your invoices look in one line, under How they look.


Good to know
- Credit notes and statements take your header and its style, your colour, text size, page margin and bands, and credit notes your column names too. They keep their own order: the sections and footers you add are on invoices only.
- A client billed on its own terms can have its own layout, and a Footer in place of your invoice notes: on its page, under Invoices, Billing terms. The designer shows your own.
- The rest of the invoice settings (payment terms, numbering, and the emails that send invoices) are under Settings › Invoice settings.