Your firm's logos
Your logo shows in the sidebar, at the top of your clients' portal and on its sign-in page, on your invoices, letters and emails, and as the portal's app icon on your clients' phones. Owners and admins look after it in Settings › Logos.
Add a logo
- Go to Settings › Logos.
- Under Add a logo, give it a name if you'll keep more than one, such as Colour or Letterhead.
- Choose the image: a PNG, JPEG or WebP of up to 2 MB. A PNG with a transparent background looks best everywhere, in the dark theme too.
- Click Upload logo.
The first logo you add is the default, the one Firmdesk uses. To use another, click Make default under it.
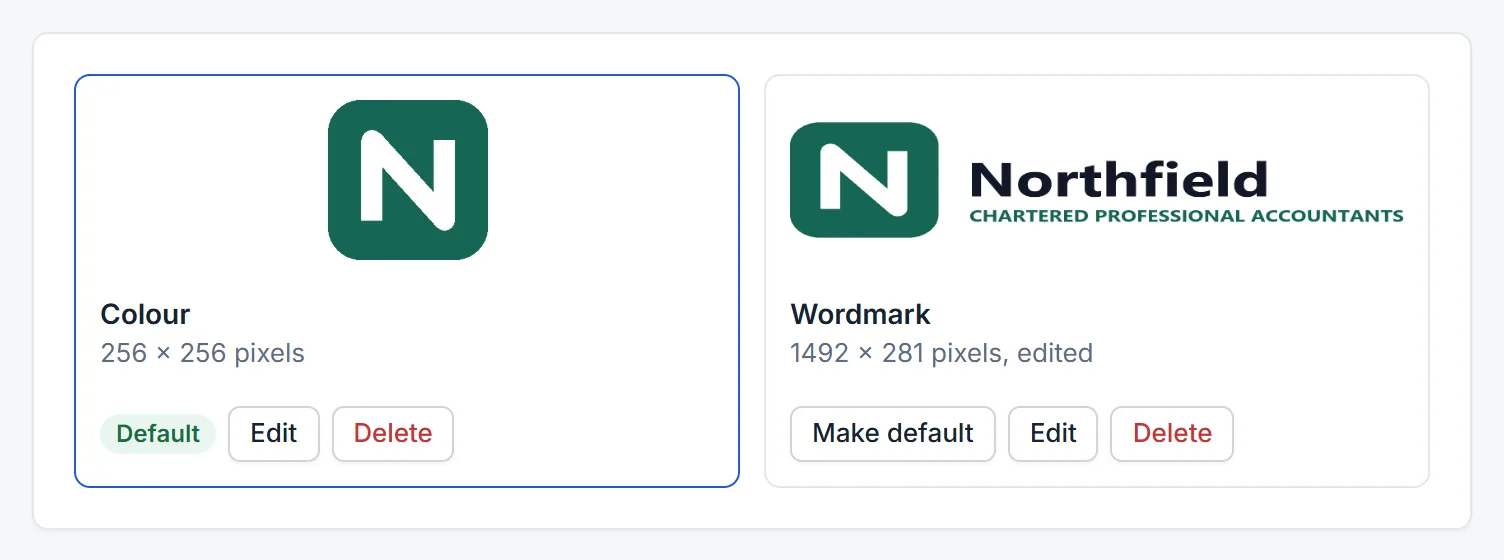
Each logo shows its size in pixels, and edited once you've changed it in Firmdesk.
Edit a logo
Click Edit under the logo. It opens large: the logo on the left, what you can change on the right. Above the logo, Resize and Crop choose what its handles do.
Resize: stretch, squash or scale it
Resize shows the logo as it will be saved. Drag a side to stretch or squash it: the top or the bottom makes it taller or flatter, the left or the right wider or narrower. Drag a corner to make it bigger or smaller as it is, without changing its shape. All of the logo is kept either way.
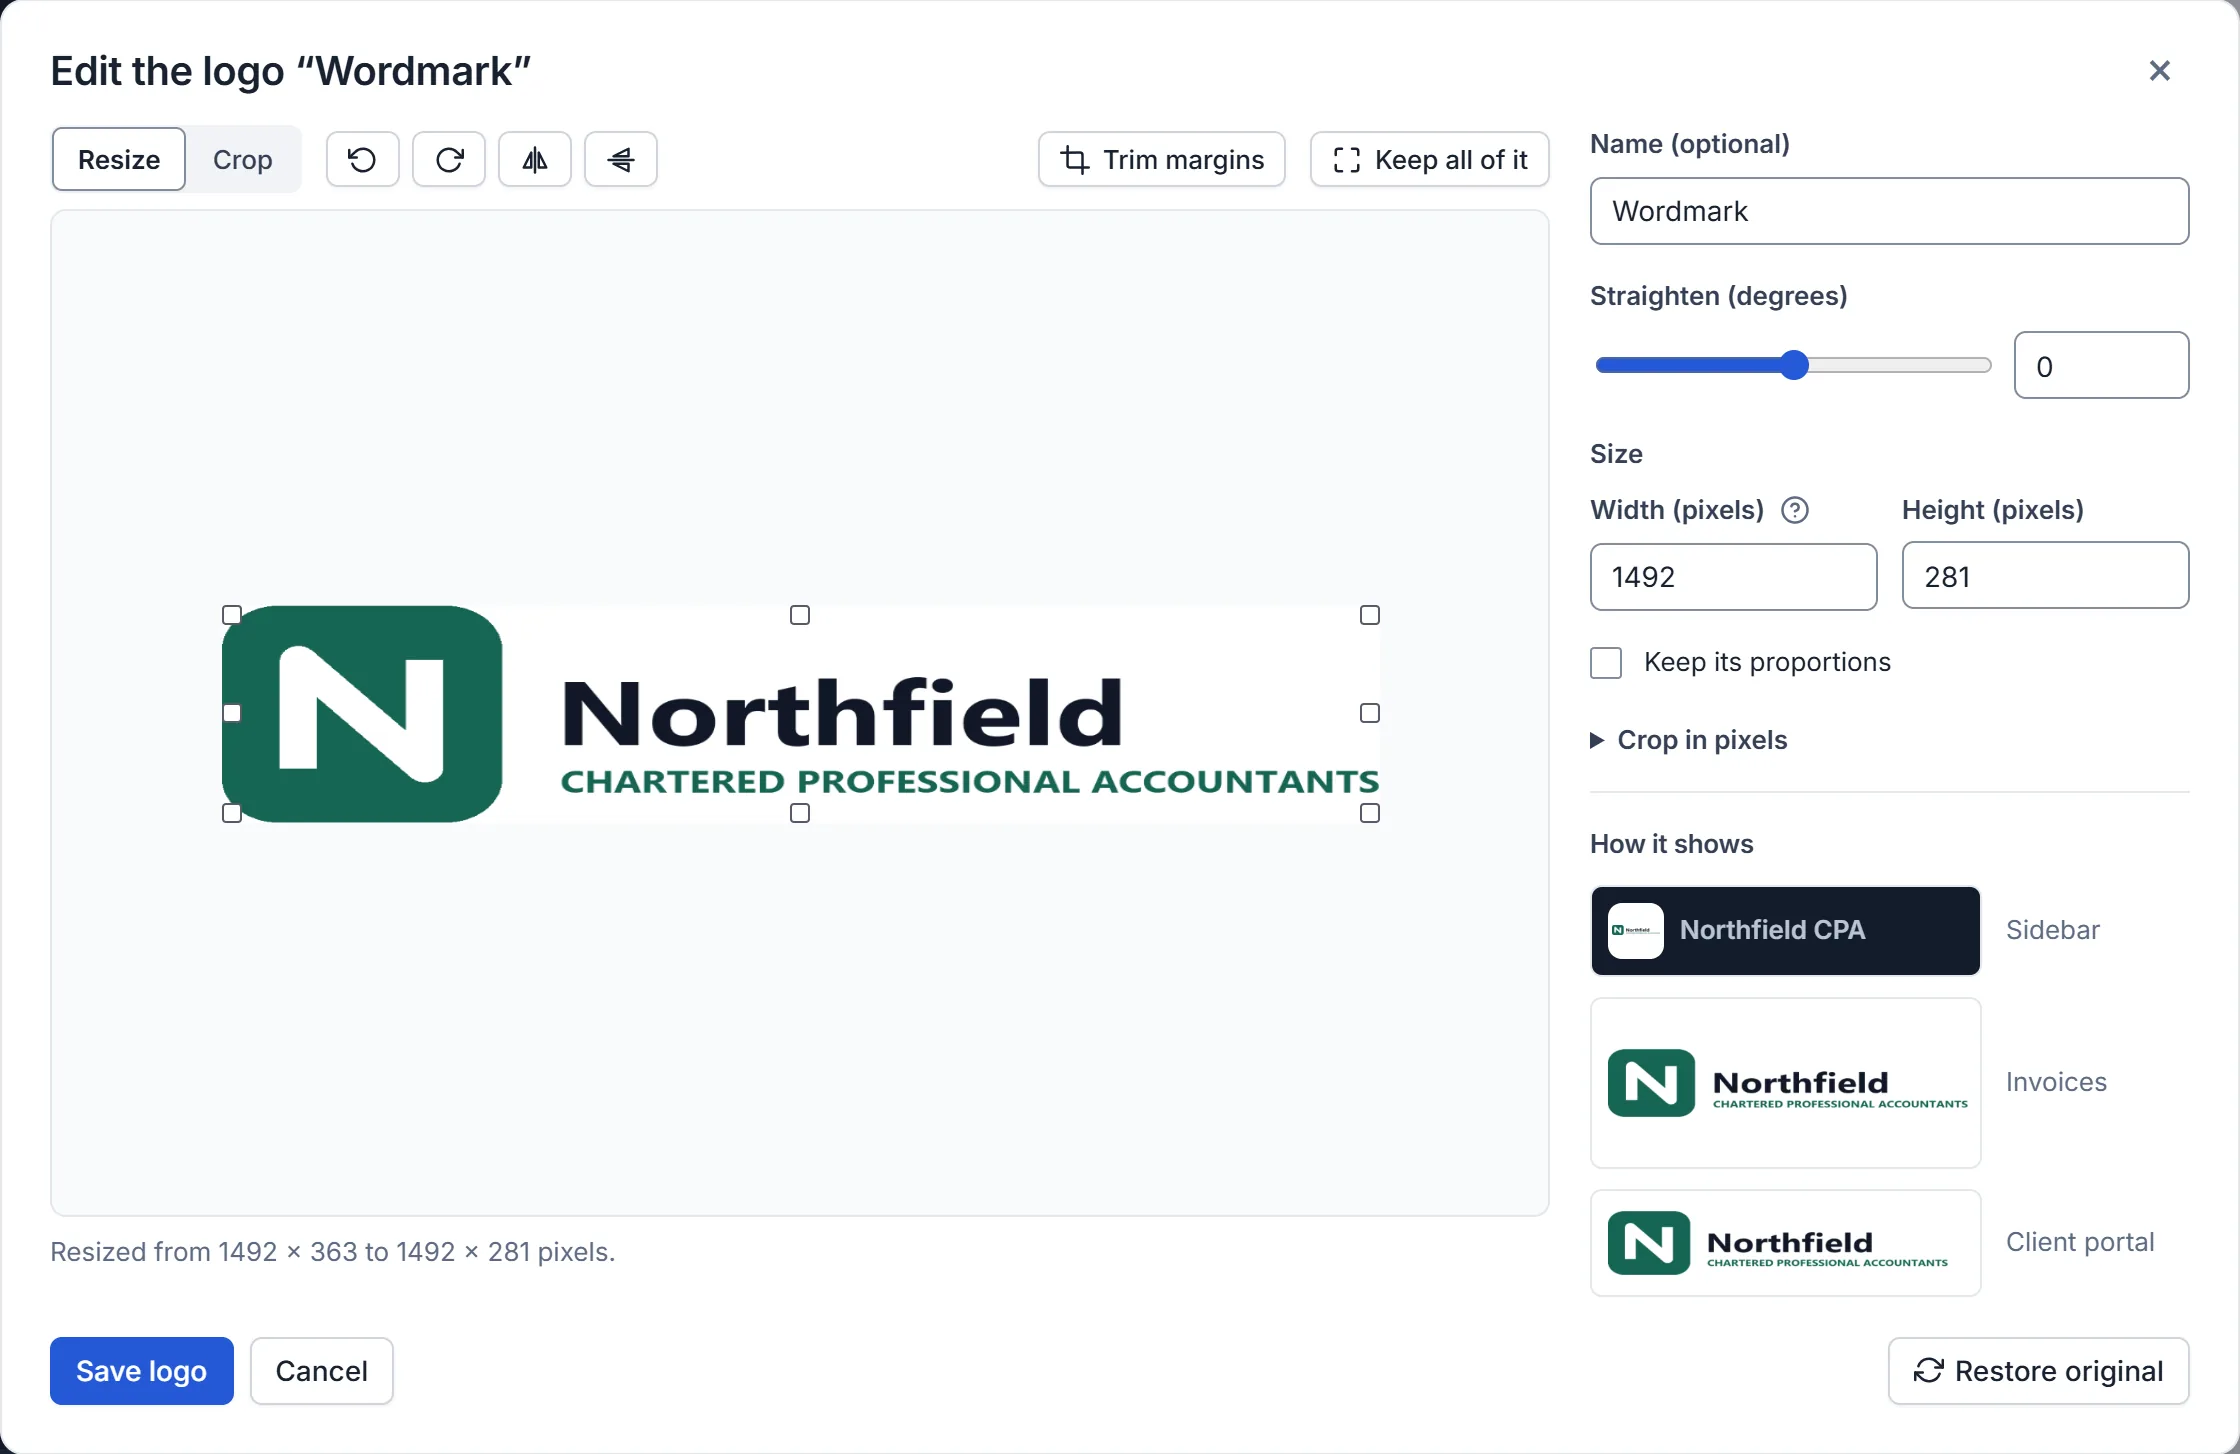
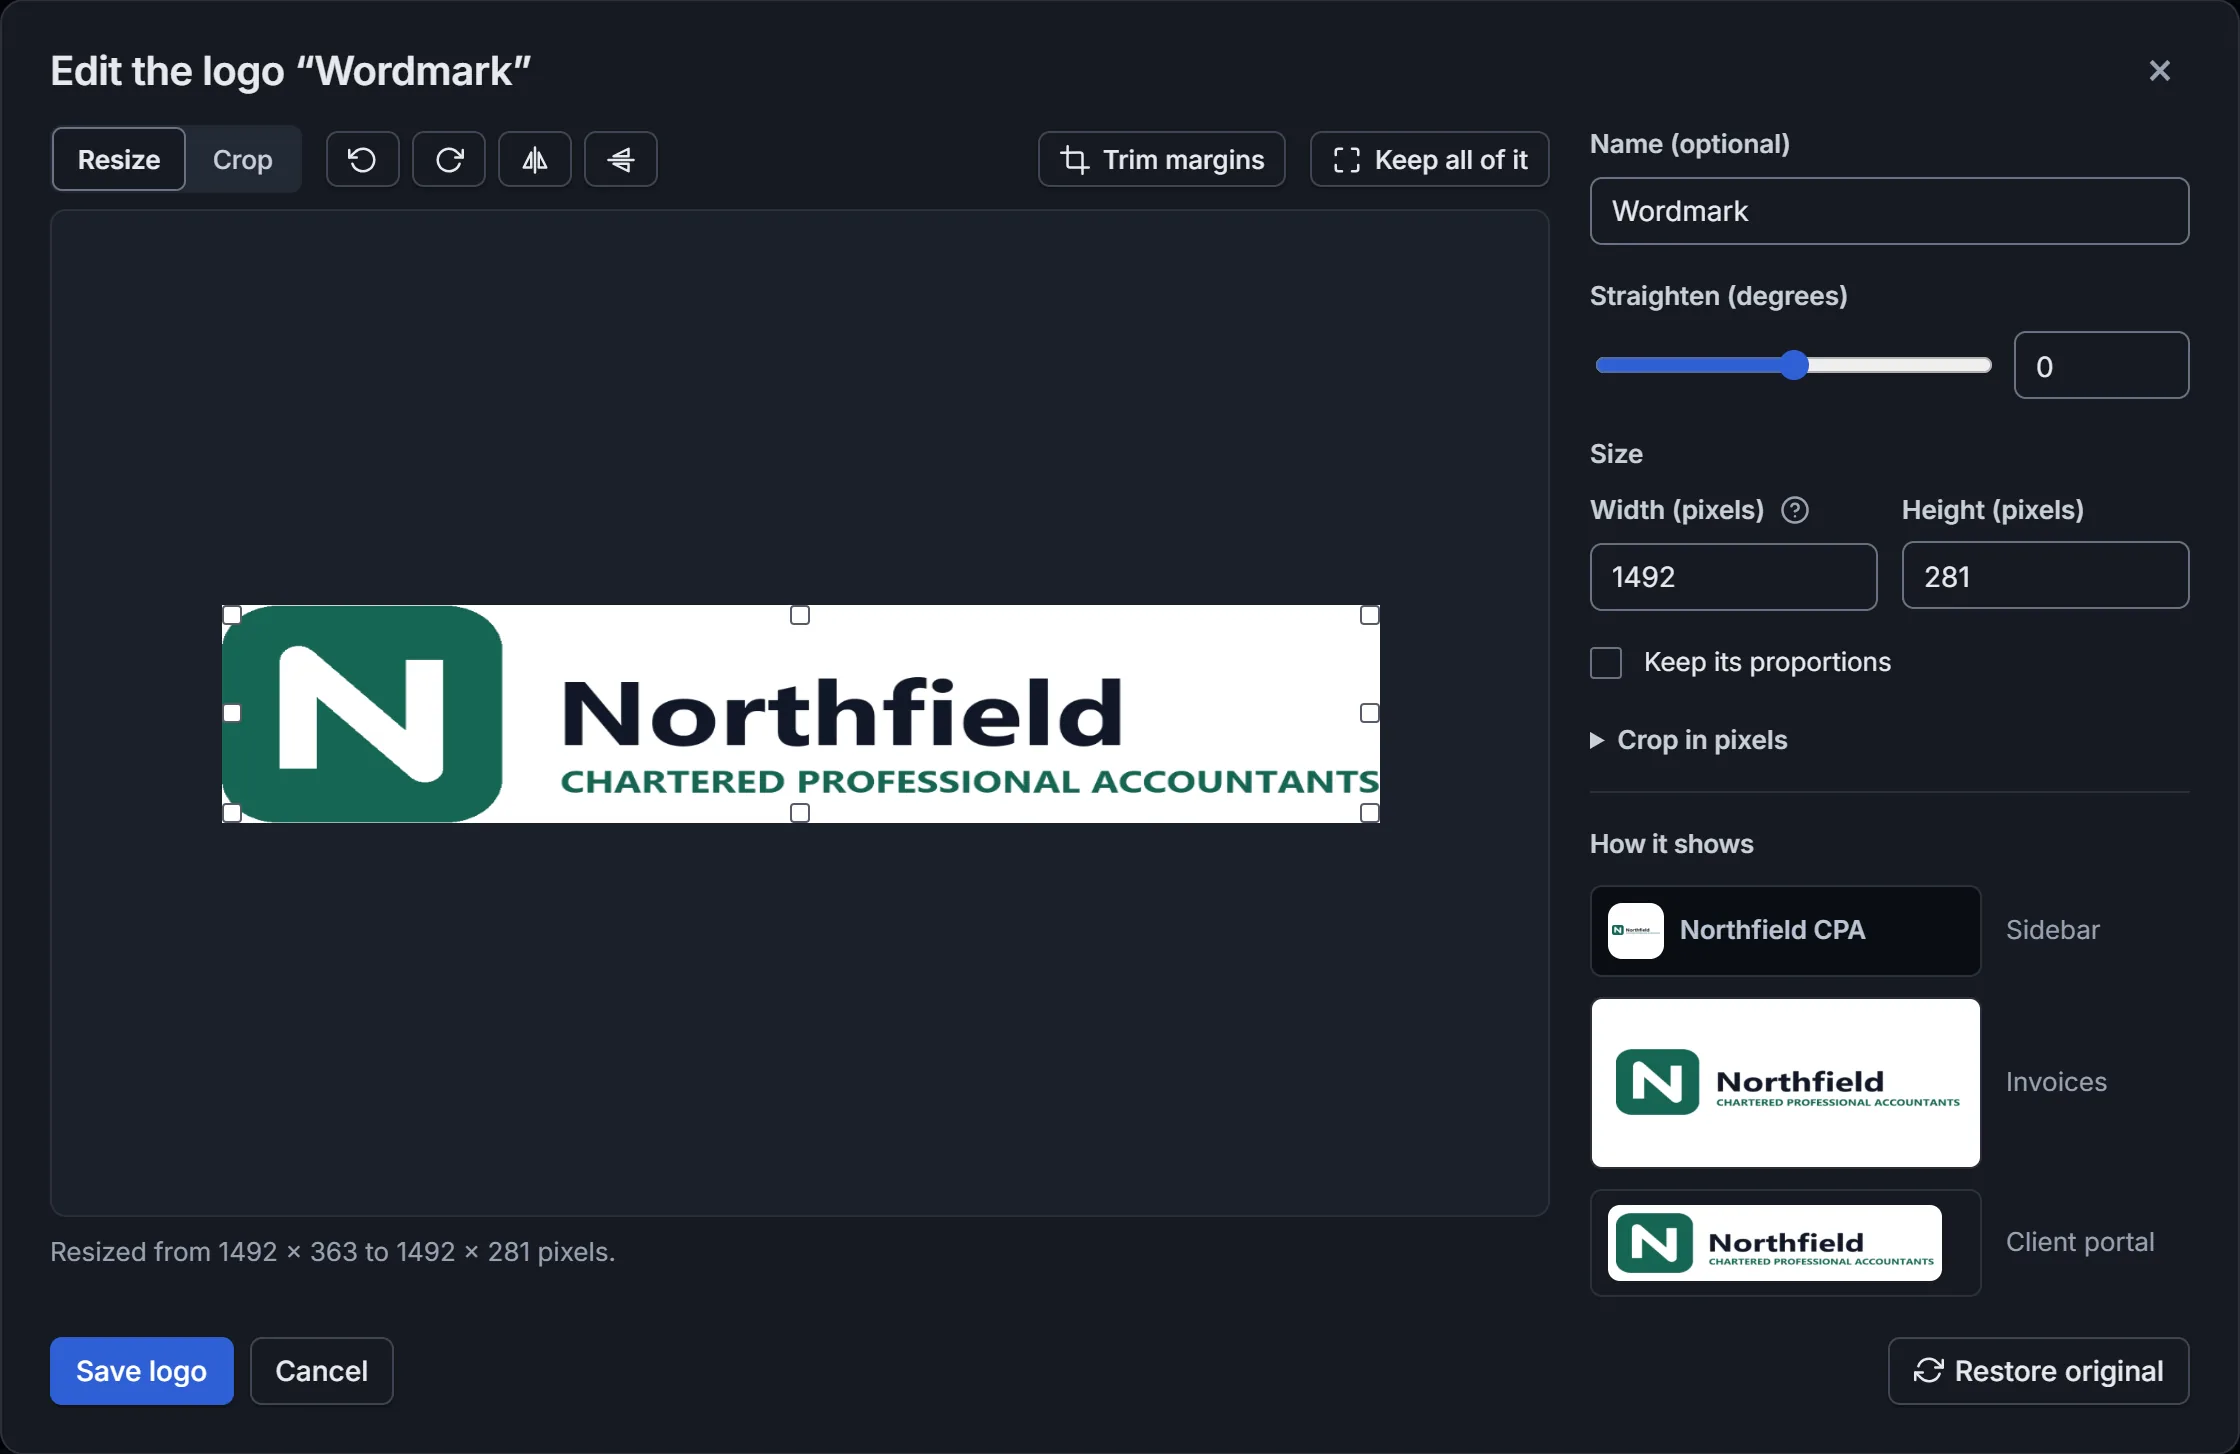
Under Size, the width and the height follow in pixels, and you can type them instead. With Keep its proportions ticked, changing one changes the other; dragging a side unticks it, since the shape is what's changing. From the keyboard, click the logo, then the arrow keys make it wider, narrower, taller or flatter.
Firmdesk never shows a logo more than 260 pixels wide, so about 600 pixels wide keeps it sharp on every screen and on paper, and keeps your emails light.
Crop: keep part of it
Crop shows the whole logo, with the part kept in a box and the rest dimmed. Drag the box to move it, or a corner or a side to size it; to start again, drag across the logo outside the box. From the keyboard, the arrow keys move the box and Shift with an arrow key sizes it. For exact numbers, open Crop in pixels.
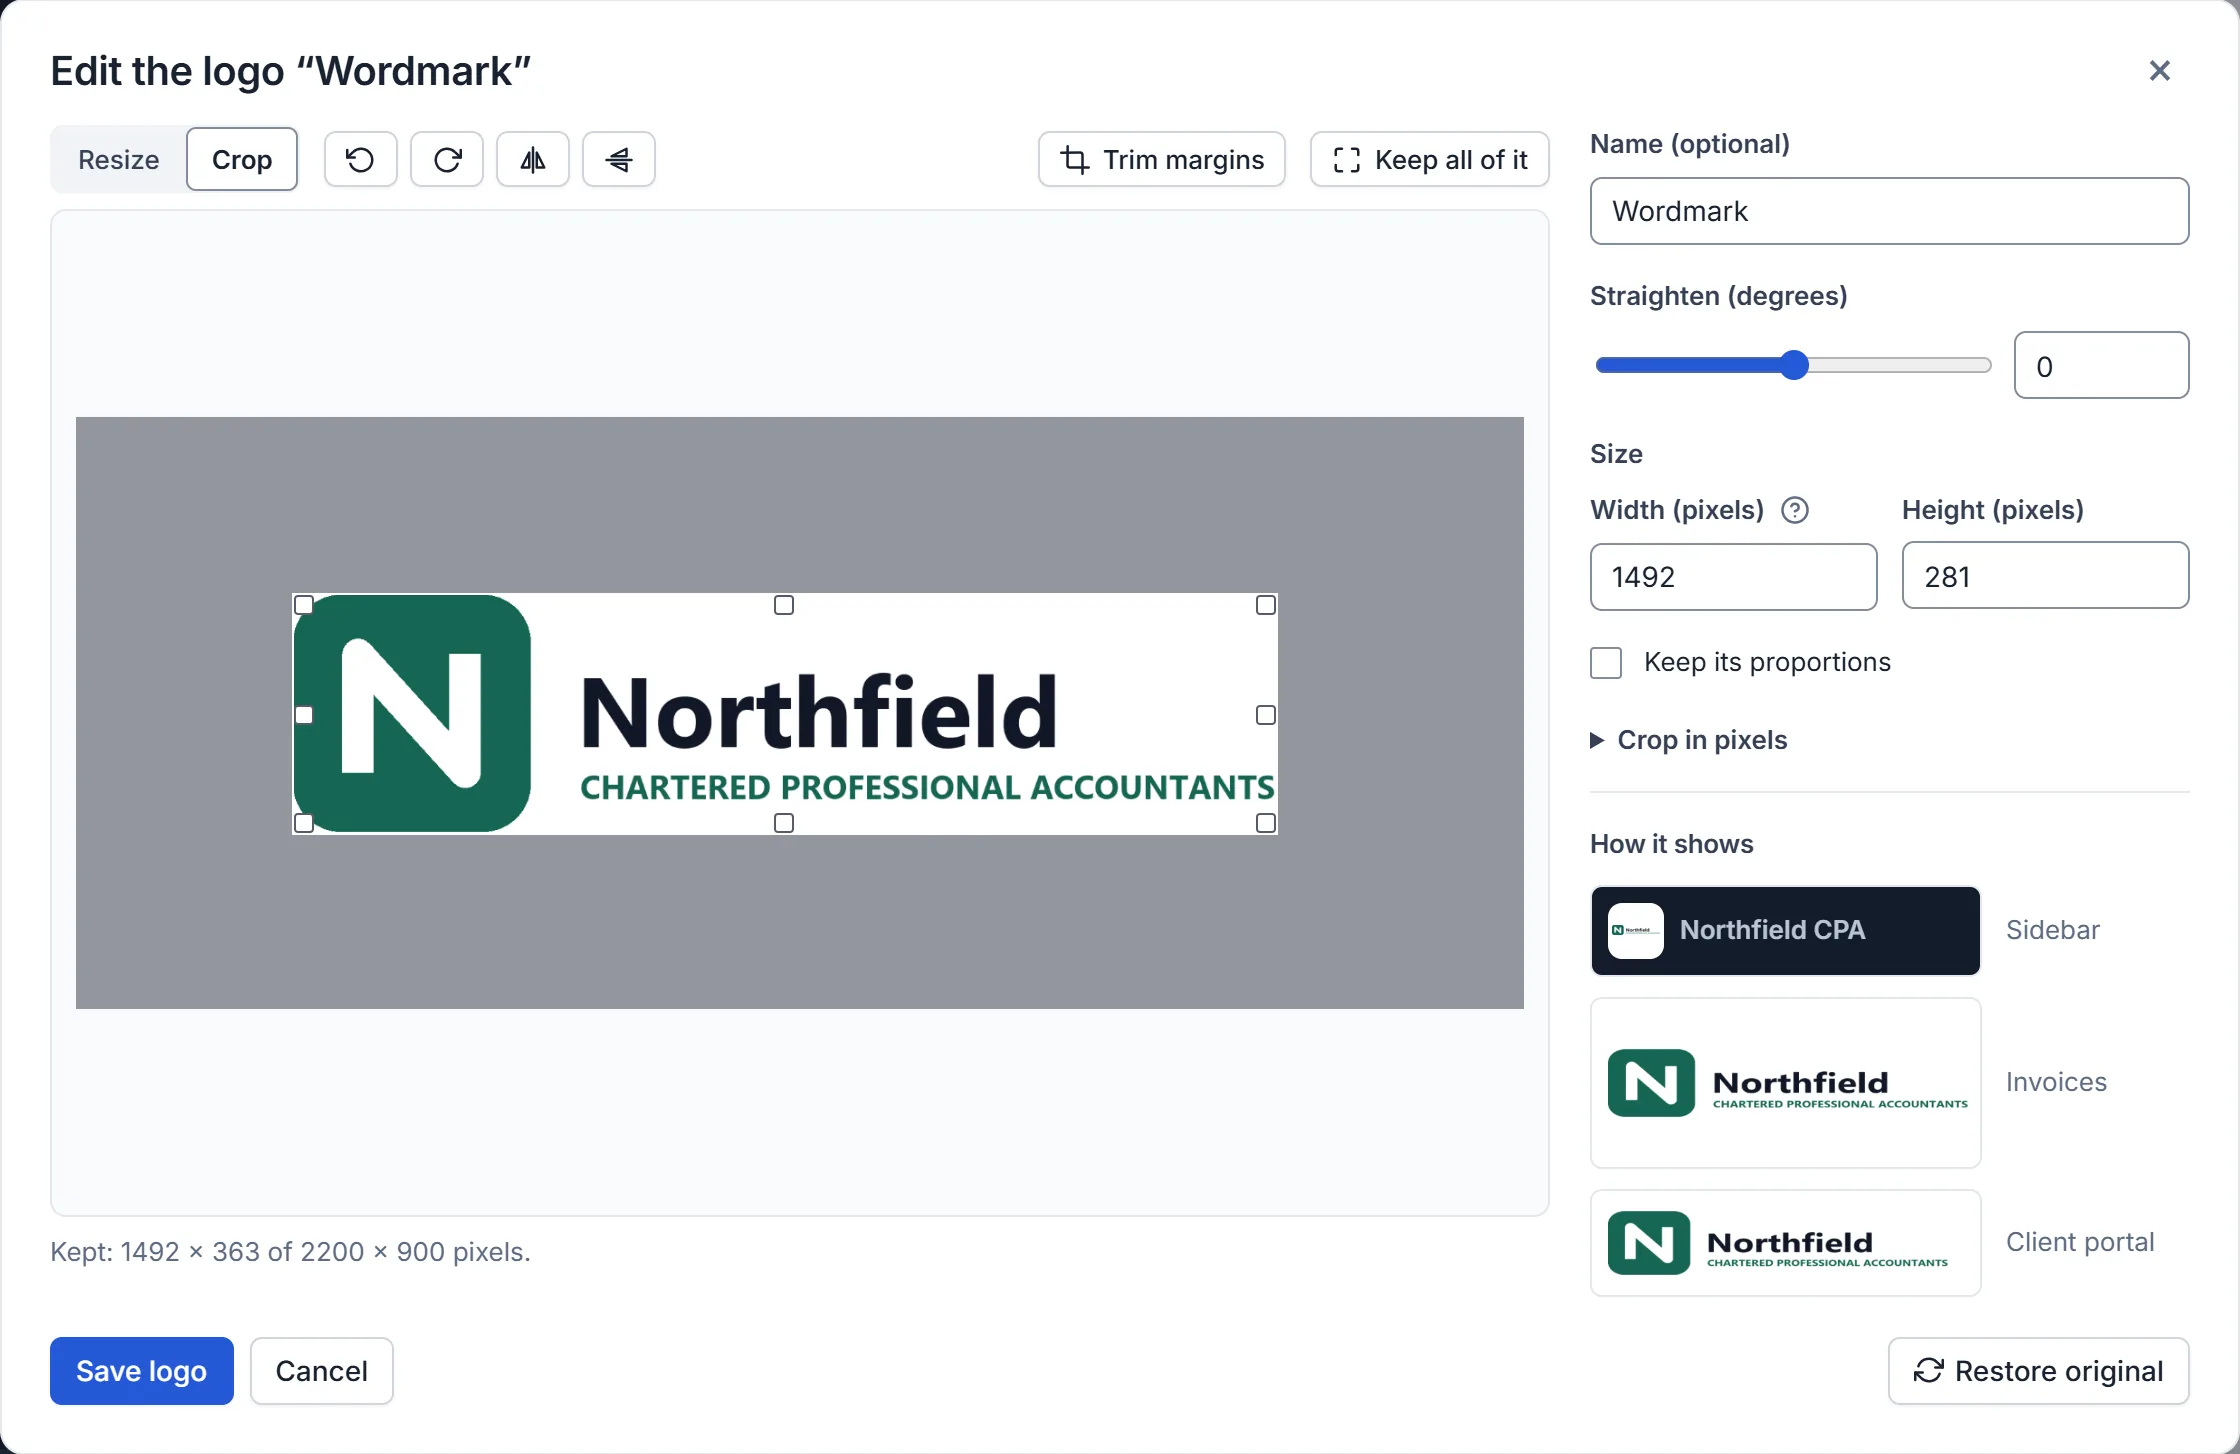
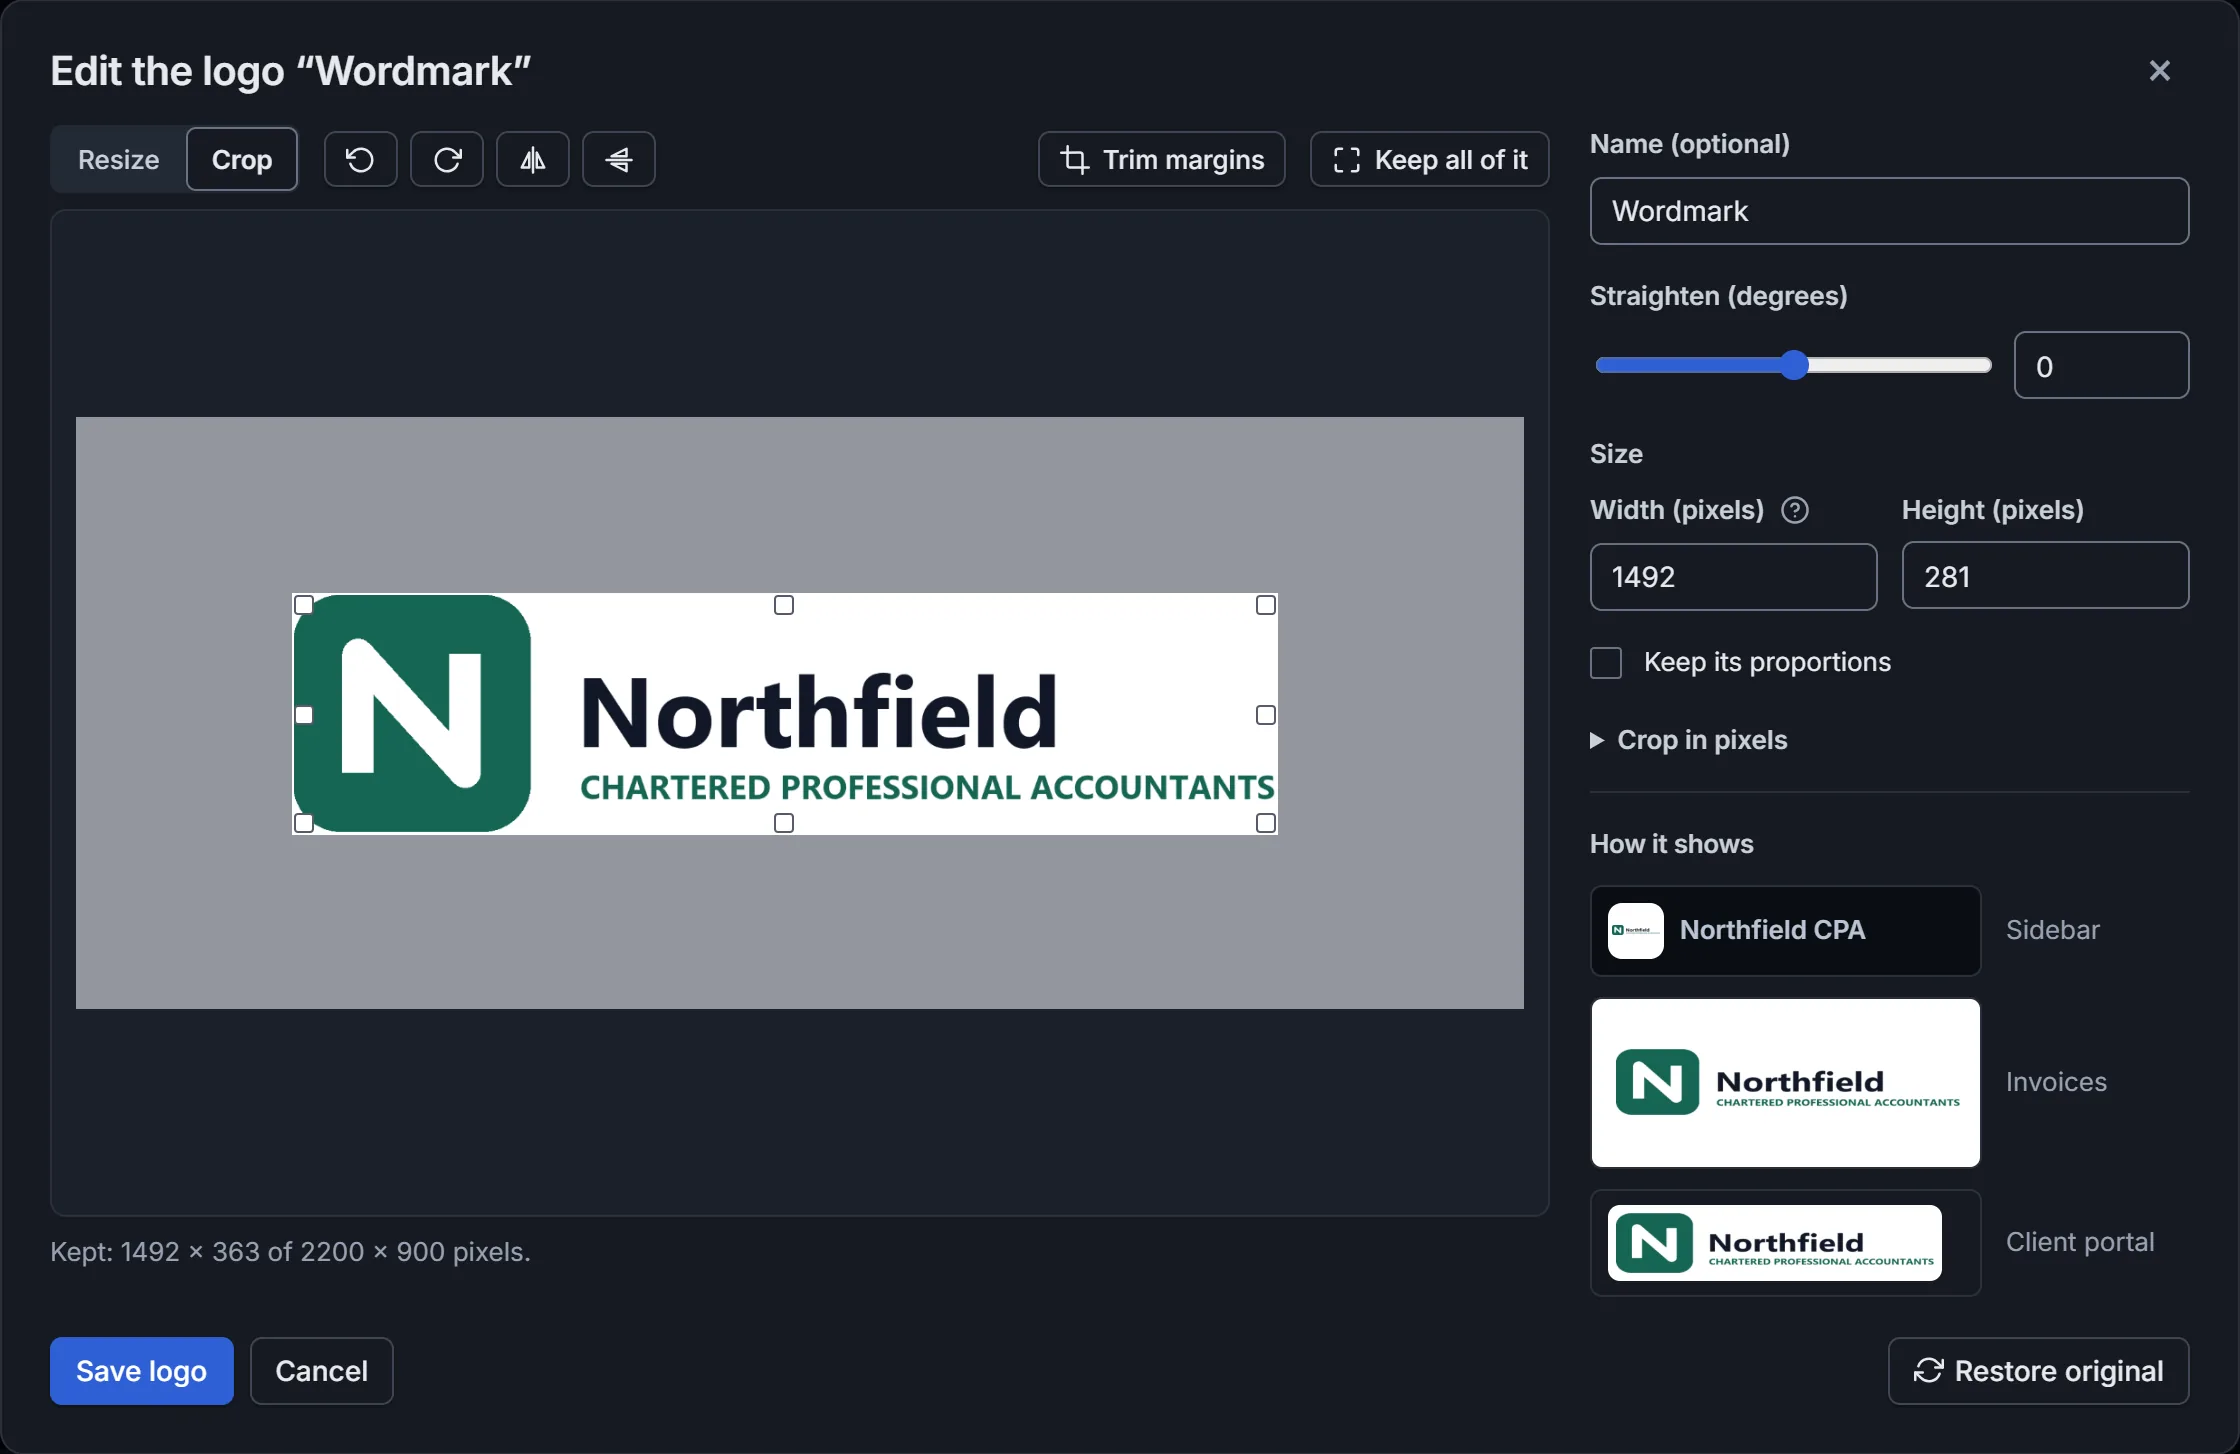
Two buttons crop for you, in either view: Trim margins keeps the logo itself, without the transparent or white space around it, and Keep all of it undoes the crop. A crop keeps the logo's scale: a logo saved at half its size stays at half.
Turn it, and the rest
- Rotate and flip: the four buttons above the logo turn it a quarter left or right, and flip it left to right or top to bottom.
- Straighten: for a logo scanned or photographed at a slight angle. Move the slider, or type an angle from -45 to 45 degrees. The corners this uncovers are transparent, or white in a JPEG.
- Name: you can rename the logo here too.
How it shows draws the result as the sidebar, an invoice and the client portal will show it. A wide logo is small in the sidebar's square: trimming its margins helps most there.
When it looks right, click Save logo. Cancel, or closing the window, leaves the logo as it was.
Your original is kept
Firmdesk keeps the image you uploaded. Each edit starts from it, so cropping or resizing again never blurs the logo, and you can go back to it at any time:
- Click Edit under the logo.
- Click Restore original. The logo shows as you uploaded it, all of it, at its own size.
- Click Save logo.
An export of your firm's data has both: each logo as it shows, and the original of each one you edited.
Delete a logo
Click Delete under it, then Delete logo. If it was the default, the oldest logo left becomes the default. Its original is deleted with it.